Pages

 photo Home_zpspchzwjez.png  photo Patterns_zpsffe5v7nd.png  photo Tutorials_zpsplo1y0ea.png  photo 193faa8a-319f-4666-9915-a2cc9af19bda_zpsah1i88qv.png  photo 1aff47d5-9779-4086-ae8c-7c8a885b6c47_zpsyyyqf1xu.png
Showing posts with label Quilting Projects. Show all posts

Saturday, March 7, 2015

Summer Squares Quilt

I am the youngest of five - and all five of us possess a variety of creative talents. It's a direct result of having parents who were excellent problem solvers and skilled designers. I thought I'd share a little bit of what my sibling can do! So today's quilt is a hand-quilted beauty that my sister made.


This quilt is called Summer Squares and appeared in a quilt book that I won at a Quilts of Valor event. 

This quilt is appliqued and pieced - and hand-quilted. It's beautiful - I love vintage feel of the colors and style!

And what's even more amazing is that my sister is new to quilting! She's an accomplished sewer who makes all sorts of things (slipcovers, curtains, clothing...) - much like my mother, so it's no surprise that a few years ago she started quilting. One of her treasures is a quilt that my mom started but never finished. 

It's wonderful to be a part of a family who inspire and motivate one another!

Saturday, January 11, 2014

Marriage Equality Quilt

Back in December, I started a quilt that I was supposed to have done back in July. Oops. This is a wedding gift for my friends James and Jeffery. I wrote about the basic block, but haven't posted any updates....so here it is! The top is done!


This took some work (math) to figure out the blocks - they are all different sizes and needed to go together differently. 

I'm dedicating today to getting my sewing room picked up so I can pin and quilt this. The background is dark olive and I plan to use the same color thread! My quilt design will be straight lines about 2" apart. I think. I keep changing my mind!

Friday, November 29, 2013

Marriage Equality Quilt


Last year, when marriage equality finally came to New York, my co-worker announced that he and his partner of 15 years would be getting married! I wanted to make them a special quilt to honor their wedding and long relationship. The problem was that I had to design it - which took some time. Well, designing it was the easy part - finding the time to piece it was the problem. But I FINALLY got started!  James and Jeffery picked out their favorite David Butler's Parson Gray Seven Wonders fabric and I took some liberty with the equal sign -- they live in a craftsman style home, so I wanted something that fit.


Here's what I have so far! My plan is to make 14 blocks like these, then randomly place them around the modern quilt! YAY! I love Thanksgiving Break!

Monday, July 8, 2013

The Star-Spangled Banner Project!

Have you heard about the Star-Spangled Banner Project? The Maryland Historical Society is recreating the Star Spangled Banner....and you, yes you, can add your stitches to this American Flag!


"Beginning July 4, 2013, The Maryland Historical Society (MdHS) will be recreating the 30 x 42 foot Star-Spangled Banner flag that inspired the writing of our national anthem. Using authentic materials, MdHS will employ traditional stitching techniques that Mary Pickersgill used 200 years ago....On Saturday, August 3 and Sunday, August 11 from noon until 3 p.m. the general public is invited to come and add a stitch to the flag. During these days, MdHS will host the Fort McHenry Fife and Drum Corps, celebrity guest appearances, actors in period costume, exhibit tables from our friends and partners, and mobile food vendors outside of the Museum. To register for the public days, visit www.mdhs.org/events." (https://www.mdhs.org/pressrelease/stitching-history-recreating-star-spangled-banner-maryland-historical-society)


To learn more, please visit the Maryland Historical Society!

Thursday, June 20, 2013

Star Spangled Stitching! Patten SALE!


It's almost Independence Day, so to honor the true American spirit, my Star Spangled Stitching flag pattern is ON SALE for only $1!

You can purchase it with auto-download in my Craftsy Store at the sale price until July 4th (2013). Then it will return to the regular price of $3.50!


Here are some pictures of the project when I offered it as a class.

There were eight in the class. Each participant brought a red and a cream fat quarter to trade. They cut their stripes and traded them. Each flag looked a little different - it also saved fabric!


Doing the top-stitching!


A final flag. It looks a little different than my original. I made mine a bit more wonky. 

Yours will look more like this one.


This pattern is ONLY $1 until July 4th (2013)! Download it in my Craftsy Pattern Store!

Saturday, February 2, 2013

Crazy Quilt Cutting Options


Some of you have been enjoying my free Crazy Quilt pattern -- it is a lot of fun and requires little skill! I had a reader ask a question about how to cut other blocks, so I thought I would address that.

I typically use a layer cake when I crazy quilt, so all of my fabric is pre-cut and coordinated. But if you decide to make this from a variety of 10" scraps, you will need to do things a little differently. And it's personal preference. You'll need 42 squares and will work in sets of four to five fabric squares. You might want to sort ahead of time (so you don't end up with two left over). 42 squares will net 42, 8.5" finished blocks.

Below I've provided some diagrams of sample cuts for sets of FOUR fabric squares. If you have a set with five fabric squares, you'll need to add one additional cut.


Hope this helps! Have fun but don't go too crazy!

Friday, December 21, 2012

Christmas Sewing Frenzy Part Three: Flip Flop Quilt


Flip Flop Quilt

With some help, I got gift #3 done- my flip flop quilt that I started back in August. It nice and summery – which I need today…a cold and snowy (and gray) New York winter day. 

Flip Flop Cat

And here is my cat helping me quilt it. Don’t you love the back fabric?! The dots get bigger toward the outside edges!

I embroidered the tag, “When I think of summer, I think of you!” This is for a childhood friend who lives for warm, sunny weather. And don’t worry, she doesn’t read my blog. I don’t think she reads much at all. She’s too busy doing stuff!


flip flop back

Tuesday, December 11, 2012

Cats on Quilts

Today is my one break from final exams, so I decided to finish up a quilt that I started in August. My cat, however, had other things in mind. She's a sweetie, but...girrrrrl, I'm trying to get this thing spun and done!


Tuesday, November 27, 2012

Kicking Some Glass: Free Pattern


Earlier I wrote about my journey creating the Kicking Some Glass quilt. Friends and followers really liked this quilt, so I decided I’d share the process with you. It’s not that difficult, it just takes some thinking here and there.
It took several months to get this quilt done; and, unfortunately I didn’t take photos throughout the entire process. So this is all I got! If you have experience quilting, this will probably make more sense. 

firstblockThe Inside Square:
First, the overview…you’ll need charm packs. I bought six but eight would have made it easier. Four packs allowed me to easily create twenty half-square triangles or twenty blocks. Each one of these blocks has a center made from the same fabric. The four outer corners are made from different fabric.

However, after I sewed the twenty blocks together, I decided to make it bigger. So I needed ten more blocks. I couldn’t make traditional half-square triangles with the remaining charm packs because the outer corners would have been the same. I ended up cutting the remaining charm squares in half, on the diagonal, and putting the blocks together. This was the only way I could get it to work. Yikes…sewing on the bias - I had to starch them to death so they wouldn’t stretch!

OK, so whatever method....when you’ve made your half-square triangles, press the seams and square them up so they are 5” square.

Once you are done pressing, start putting the blocks together like the block in picture shown above. I used a design wall to eyeball it. You’ll be cutting this block up, so don’t spend too much time thinking about mixing up the fabric.

Saturday, November 24, 2012

Kicking Some Glass Quilt

Ok, so I started this quilt back in early August and it’s been clinging to my design wall ever since. I had purchased some charm packs (Free Spirit – Kaleidoscope) and, without any plan, started making half-square triangles. Then I sewed them together to make a square. Ugh. Boring. Too traditional. So they hung there, neglected, for almost four months. 

firstblock 


I promised myself that I would work on this quilt over Thanksgiving. And that’s what I did. I had a bunch of blocks like the one to the left. In September, I bought some blue fabric and was just going to add some sashing and a border.


border 


I cut a bunch of 3” strips and sewed them around the squares. Boring. Cut them wonky. Better. And here it is. I liked it but it wasn’t speaking to me. It was still too expected, which is not what I wanted. I did a load of laundry and came back…


half….then figured it out. I cut each block in half along the diagonal and sewed them together in no particular order. Perfect.


Thursday, November 15, 2012

Quilting Marathon Part Three: Done!

We've been sorting pictures from our Quilt Marathon and I found some of my quilt. Thought you'd like to see the finished product!


Here we are getting set up. This machine is on loan and I can never remember how to put the bobbin in! Love it though...it's a Bernina 580. 


After what seemed like an eternity, I finished my quilt top. Can you tell that  I hate getting my picture taken?


All done! 

This was a really easy quilt to put together. You can head over to Sweeter Lemon for an explanation.

As I've written before, Southern Tier Quilts of Valor sponsored this event. To this date, Quilts of Valor groups around the US (and abroad) have made just over 70,000 quilts for our wounded warriors! For more information, go to Quilts of Valor.

Sunday, October 21, 2012

Caricature Quilt Art

In May 2011 my wonderfully creative mother died at the age of 85. Her death was unexpected but not surprising - nonetheless, it still left a void in my sewing spirit. Several trips, alone, driving back and forth between Michigan and New York gave me a lot of time to process and think. 

When I returned from the funeral, I also returned to my empty sewing studio. The only problem was that I was not ready to be around a lot of people. I wanted to play. I didn't want to  work. I put things on hold and did the bare minimum of business-related tasks. For a while, I mustered up the energy to cut a bunch of quilt blocks, then I decided it was time to laugh. I had ordered a copy of Amy Bradley's Quilters Yearbook and loved the funny caricatures but had never got around to doing anything with it.


Wednesday, June 27, 2012

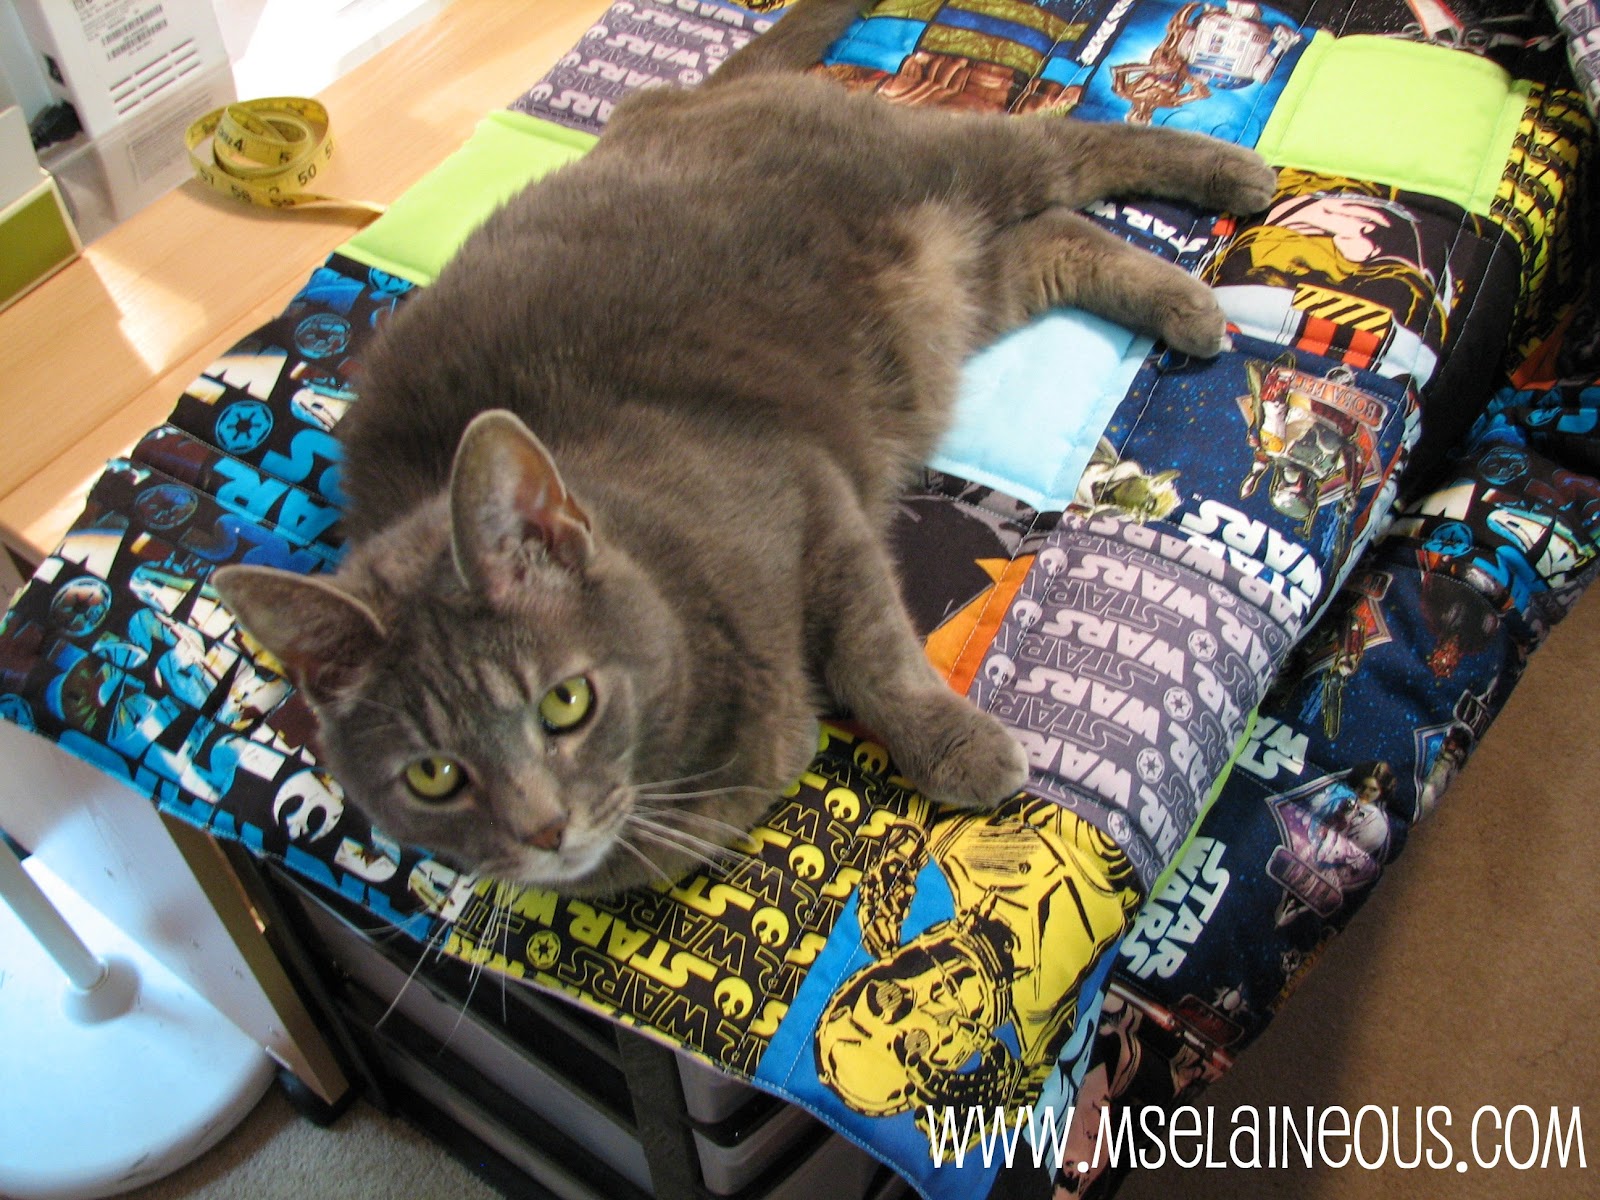
Star Wars Quilt


I finished the Star Wars quilt that I started last month! Because this is a baby quilt, I decided to use Great Glory III Extra Loft Polyester Batting. I like to use poly batting for a quilt that will be washed a lot. I'm not a huge fan of "puffy" quilts but thought it was great for a baby. And it is puffy (about a 1" thick) - I found it a pain to work with - the loft distorts the fabric which makes it a bit awkward to quilt. To make it easier, I decided to do some simple straight line quilting.


It's backed with flannel.


I think he's a Star Wars fan!

Thursday, June 14, 2012

Today's Project: Fifty Is The New Fabulous Quilt


I started this quilt a few months ago and had to set it aside when I moved my studio back to my house. I dug it back out and hope to get it quilted today. I am on a deadline...it's for my friend's 50th birthday ... so it needs to be done tomorrow...yikes. I don't work well under pressure.

The pattern, Pickety Sticks, is from the book On A Roll Again by Anka's Treasures. It's made from a jelly roll with a muslin foundation. I learned fairly quickly that, as much as I like sewing to muslin, the quilt will be REALLY heavy. I had to pin the columns to my design wall!

The fabric is The Blue Skies Collection by Sharon Holland. I went looking for sashing and border fabric but couldn't find it. So I bought fabric that matched...close enough.


Here it is with the sashing. I just need to add a row to the top and bottom.

PATTERN REVIEW:
As I put this together, I noticed some issues. According to the book, the final size of the quilt is 66 1/2" x 85" - but when I measured, mine was wider - more like 68 1/2" x 85." That's a huge difference, so I did some calculations and my measurements are correct. Whooww... I was a bit worried about my piecing skills!

Secondly, the author gives no backing directions - no yardage...just "a 73" x 89" piece of backing fabric. So I had to get out the calculator to determine that it's 5 yards. 


I'm trying to get it quilted (free motion with the BSR on a Bernina 580) but my cat has other things in mind.

And if you are wondering about my free motion skills, I'm an "all-over meandering" type of gal. I think there are two schools of thought with free motion: (1) I want to win a contest and (2) It's a gift from the heart. I used to be the former, but not anymore.


All done!
And yes, this quilt is heavy...not quite as heavy as the lead vest at the dentist office, so not to worry.


Right now it's in the washing machine and I'm about to make the label. 


This is a special happy birthday to my friend. She IS fabulous. She's a wife, a mom, and a business owner. And she just celebrated her tenth cancer-free year! YAY Michelle!

Monday, June 4, 2012

Collapsible Market Tote


While I was looking for fun "Blanks" for embroidery designs, I ran across this market tote at Discount Embroidery Blanks. I wanted one but didn't like the limited color choices. Lo-and-behold the Sunday sale ads arrived. And what did I find? There, tucked away in the fiVeBELoW circular, was a Partiki collapsible market tote for only $5. I decided to risk the $10 and purchase two.

HERE'S WHAT YOU'LL NEED:

THE PROCESS: Once I got over the smell (these things are seriously toxic, so leave them outside once they are out of the package), I started planning. I decided to cut one apart to use as a pattern (and make my own bag). I kept the other one intact as a reference. 


OK...it still smells. I have to open a window.


This tore apart really easily - I guess that's why it was only $5. I removed the velcro (to reuse) then ripped out a few stitches, and just pulled. 


BONUS! The feet are screwed on, so I can reuse those!


Here it is all apart. I lightly pressed one of the sides but kept the other one as is, so I could refer to it if I needed to.

I got rid of their binding and used one package of Wrights Extra Wde Double Fold Bias Tape. And unlike the original, I put the binding at the top not at the bottom.
 
You might want to measure your bag pieces before you cut. Brands may differ in size and you might have to adjust accordingly.

I picked some home dec fabric (for both the exterior and the interior) and laid out my pattern pieces. 


ROUGH CUT:
1. Exterior sides: from exterior fabric and lightweight interfacing - cut 2 - 10" x 24 1/2"
2. Exterior bottom: from exterior fabric and Pellon Peltex (71F) - cut 1 - 8 1/2" x 13"
3. Lining sides: from lining fabric and iron-on vinyl - cut 2 - 10" x 24 1/2" 
4. Lining bottom: from lining fabric, iron-on vinyl, and Pellon Peltex - cut 1 - 8 1/2" x 13"

FUSE:
1. Fuse exterior sides to lightweight interfacing.
2. Fuse exterior bottom to Pellon Peltex (71F).
3. Fuse lining sides to iron-on vinyl.
4. Fuse lining bottom to Pellon Peltex.
5. Fuse lining bottom/Peltex to iron-on vinyl.

Fusing the lining bottom.


FINAL CUT:
Using your bag pieces as a pattern, trace and cut the sides and bottom. To make sewing this together easier, use a fabric marker and mark the middle point of the bottom pieces and at the bottom of the side pieces. You'll line these marks up as you sew the side to the bottom.

PUT FEET ON:
Using the bag piece as a template, mark the placement of your feet on the exterior bottom piece. This is where the feet get screwed on.


With an awl or tip of scissors, carefully poke a hole in the bottom fabric on your marks. Screw feet in place on the wrong side of the exterior bottom.

And you'll see my marks -- this helps me line things up when I sew it together.


MAKE STAYS (optional): Next I cut my stays - 2 1/4" x 9" - I referred to the original stays to determine how to press them. Once I got this together, I realized that the bag was sturdy enough so I didn't need these. UPDATE: after carrying this around, I'd recommend the stays! They do a great job supporting the tote.

START SEWING: Sew the side pieces together using a 3/8" seam - I double checked this to make sure it was the same as the original seam allowance. Press seams open. If you would like to add the stays, sew those in now.

Sew side piece to the bag bottom, RST, using a 3/8" seam. You may have to clip the rounded corners to make it fit.


Pinch bottom of the bag at the seam to flatten it out. If you need to, lightly press it flat along that seam.


You are done with the outside! Time to get to work on the lining.


SEW LINING: Sew the sides of the lining pieces together using a 3/8" seam. Then lining up your marks, sew to bottom of lining using a 3/8" seam. 


You may have to clip the corners to get this to fit --  and it might not fit perfectly. Not a big deal - I would imagine that the original bag was a bit wonky!


Done! Cut seam to about 1/4" or so. This removes some bulk in the bottom.


Place lining inside of the exterior (WST) and baste the two together along the top using a 1/4" or so seam.


I used my regular foot - it didn't stick to the vinyl - and sewed on the lining fabric. I found this easier to do.


DONE! And yes, that's a cat bed in the background!

At this point I was convinced that this would not fit in the frame. The shape seem all wrong. But it fit!


ADD BIAS TAPE: Bias tape has two sides - one is longer than the other. Place the shorter side on the INSIDE of the bag and sew it on - lining up the edge of the bias tape with the edge of the bag. Sew in the crease.

BTW, I began at the side seam. Remember to fold over the end so it's finished!


Once you are done, fold the bias tape over to the exterior side. Carefully sew the bias tape on. If you did this correctly, the middle crease should fit perfectly over the top edge of the bag!


Bias tape is all sewn on!

ALMOST DONE!!!

ADD VELCRO: Get your velcro out (that you ripped off the original tote). You may have to refer to an original bag to see how it's sew on. This is why I always keep one around! I have ten pieces.

Sew one on each end. This will be your starting point. The empty space between each piece of velcro is roughly 3 5/8" -- roughly - it won't be perfect.

Measure and mark 3 5/8" from the edge of the velcro. I sewed two parallel rows of stitches.


Line up the next piece of velcro at this mark and sew it on. Work your way around the bag.


DONE!


The bottom of both bags. The Peltex really makes the bottom more stable.

You may be able to find a collapsible market tote at other stores - the main thing to look for is a removable outside bag. I've seen some that won't come off.


HAPPY SHOPPING!

UPDATE! Want to add an embroidery design? Read about the Market Tote: Monogrammed.

Related Posts Plugin for WordPress, Blogger...