Pages

 photo Home_zpspchzwjez.png  photo Patterns_zpsffe5v7nd.png  photo Tutorials_zpsplo1y0ea.png  photo 193faa8a-319f-4666-9915-a2cc9af19bda_zpsah1i88qv.png  photo 1aff47d5-9779-4086-ae8c-7c8a885b6c47_zpsyyyqf1xu.png
Showing posts with label Quilting. Show all posts

Tuesday, January 3, 2017

Kicking Some Glass Quilt

Back in August...of 2012, I wrote about this quilt (first post and second post/pattern) that I named "Kicking Some Glass." Well, almost 4 1/2 years later, I finished. I decided to take a break from my non-blogging break to share it with you.


Why did it take me so long to finish it? Here's what I remember: I loved piecing it. It's my own design that I made with charm squares. I loved the fabric. Then I started quilting it. It took me a while to determine my approach, but I decided to go with fairly random diagonal lines. That's when the hate began. I had to use a ruler to draw the lines...and draw...and draw. It didn't take long before I got sick of drawing and quilting. So I folded it up and it sat. For over four years, I moved it from room to room. At one point, I thought that I'd rip out any quilting that I'd done and simplify it.

Then something happened. I stopped sewing and it sat in one spot in my sewing room. And I saw it every day for over a year. A few weeks ago, I got tired of looking at it and decided to take action. When I opened it up, I realized that I had quilted just over half of it, which was too much to rip out. 

My next thought was to quilt a few lines a day. So on December 31st, I threaded my machine and started with no intention of doing much. But this time, I didn't draw straight lines. I just sewed as straight as I could. I didn't care. I just wanted it to be done. And really, who sees it? Who cares!? Before I knew it, I was almost done.


I wasn't too sure what I thought as I quilted, but as soon as I cut off the excess and the quilt started to take shape, I knew that it was a keeper. Then I cut my binding...too narrow (2" rather than 2 1/4"), but again, I didn't care. And in the end, I like the narrower binding! I guess that's what happens when you don't sew or quilt for a while.

I guess my main take-away is that as much as I love the quilting part of quilting, I don't love it that much! What's wonderful is that although I haven't sewn in almost a year, finishing this has inspired me. And I think that's the added bonus of not blogging my projects; I don't get bogged down by taking pictures and writing. I just get to sew. For me.

Friday, June 5, 2015

The Birth Day Cake...quilt

I just finished up a gift for my friend's new baby. I'm not much of a quilter - I maybe make one quilt a year. But when little Bo was born, I knew that he needed a quilt. I made his parents a quilt when they got married - it was the second quilt I ever made!

I looked around and decided on Elizabeth Hartman's Birthday Cake quilt. Her website is down, so I don't have the link...

But here's the finished quilt!

His mom and I looked at a lot of fabric online and decided on these. It's very wilderness! I made some pattern modifications: (1) I used yardage rather than fat quarters...only because that's all I could buy - so I used four brown and four blue (rather than five), (2) I made it (almost) crib sized - so it's 36" x 56" - there are fewer blocks, 3) I placed the blocks in a pattern, and (4) because of that, I had to cut a specific number of blocks out of each piece of fabric. 

I also had quite a bit left over, so I pieced the back.


The white fabric on the bottom is one yard of some extra fabric that I bought. It looked better on the back. I quilted it myself, so I really had to work to get the back even...and it was! I know a pieced back is a longarmer's worst nightmare!


I did a lot of straight stitching when I quilted it. I also used polyester batting - Warm and Bright. I learned that baby quilts take a lot of beating, so poly batting holds up better. I was worried about the draping, but after I washed it, it wasn't so stiff. 

Here's my assessment of the pattern. I love the design and it was really easy to modify. I hate cutting and there's a lot of cutting - you make the blocks then cut them to the correct size; this makes for an even quilt...but...cutting...ick.

Overall, I have to say that I enjoy baby quilts...they are small, easy to put together, and manageable to quilt! Plus, it's such fun fabric, who could resist!?


Saturday, March 7, 2015

Summer Squares Quilt

I am the youngest of five - and all five of us possess a variety of creative talents. It's a direct result of having parents who were excellent problem solvers and skilled designers. I thought I'd share a little bit of what my sibling can do! So today's quilt is a hand-quilted beauty that my sister made.


This quilt is called Summer Squares and appeared in a quilt book that I won at a Quilts of Valor event. 

This quilt is appliqued and pieced - and hand-quilted. It's beautiful - I love vintage feel of the colors and style!

And what's even more amazing is that my sister is new to quilting! She's an accomplished sewer who makes all sorts of things (slipcovers, curtains, clothing...) - much like my mother, so it's no surprise that a few years ago she started quilting. One of her treasures is a quilt that my mom started but never finished. 

It's wonderful to be a part of a family who inspire and motivate one another!

Saturday, January 11, 2014

Marriage Equality Quilt

Back in December, I started a quilt that I was supposed to have done back in July. Oops. This is a wedding gift for my friends James and Jeffery. I wrote about the basic block, but haven't posted any updates....so here it is! The top is done!


This took some work (math) to figure out the blocks - they are all different sizes and needed to go together differently. 

I'm dedicating today to getting my sewing room picked up so I can pin and quilt this. The background is dark olive and I plan to use the same color thread! My quilt design will be straight lines about 2" apart. I think. I keep changing my mind!

Saturday, November 24, 2012

Kicking Some Glass Quilt

Ok, so I started this quilt back in early August and it’s been clinging to my design wall ever since. I had purchased some charm packs (Free Spirit – Kaleidoscope) and, without any plan, started making half-square triangles. Then I sewed them together to make a square. Ugh. Boring. Too traditional. So they hung there, neglected, for almost four months. 

firstblock 


I promised myself that I would work on this quilt over Thanksgiving. And that’s what I did. I had a bunch of blocks like the one to the left. In September, I bought some blue fabric and was just going to add some sashing and a border.


border 


I cut a bunch of 3” strips and sewed them around the squares. Boring. Cut them wonky. Better. And here it is. I liked it but it wasn’t speaking to me. It was still too expected, which is not what I wanted. I did a load of laundry and came back…


half….then figured it out. I cut each block in half along the diagonal and sewed them together in no particular order. Perfect.


Monday, July 16, 2012

Color Theory Website

Every once-in-a-while I come across a website that blows me away. It's unusual and inspirational. Today I found one - and it's a gem - Awesome Artists by "Mo" M.C.Gillis

I found it on my daily review of Pinterest. Someone pinned a black and white version of the Color Theory poster and I knew that pinner was on to something. The website is a treasure trove of information and printouts of art and personal wellness. There are booklets galore - some informational and some activities - many designed to help young artists learn about color and design. Take some time to explore. You may run out of ink printing these! Thank you to Mo!!

Wednesday, June 27, 2012

Star Wars Quilt


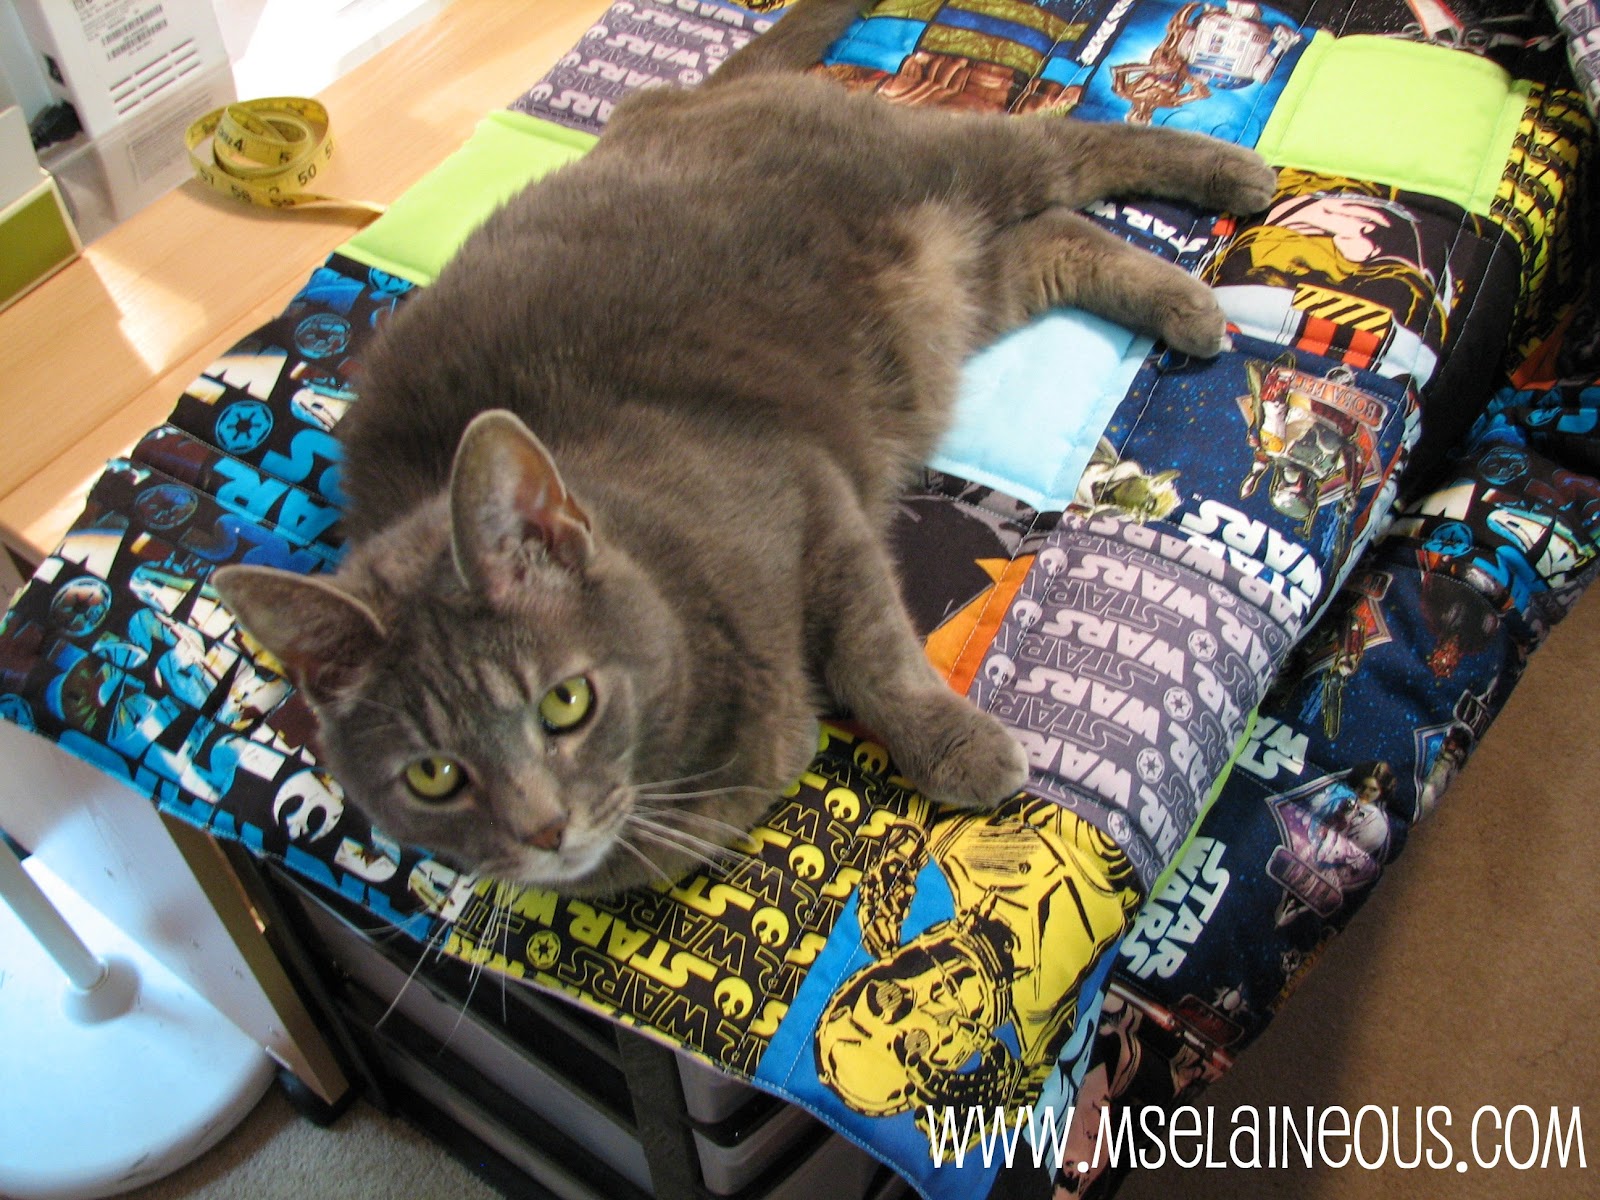
I finished the Star Wars quilt that I started last month! Because this is a baby quilt, I decided to use Great Glory III Extra Loft Polyester Batting. I like to use poly batting for a quilt that will be washed a lot. I'm not a huge fan of "puffy" quilts but thought it was great for a baby. And it is puffy (about a 1" thick) - I found it a pain to work with - the loft distorts the fabric which makes it a bit awkward to quilt. To make it easier, I decided to do some simple straight line quilting.


It's backed with flannel.


I think he's a Star Wars fan!

Wednesday, March 7, 2012

Crazy Quilt Block


My first experiment with quilting began in the crazy arena when I saw this technique on a television show. I loved that nothing really needed to line up. For me, it was the perfect place to start my quilting journey.  So here is a simple technique for creating a crazy quilt block. The final block size is 8 1/2".

1. Get Fabric: Start with five different 10" squares of fabric. You can use a layer cake if you'd like. These are just some scraps that I had.


2. Stack: Stack your fabric on top of each other - right side up.


Get ready to cut your fabric; you'll be making one less cut than to the total number of pieces of fabric. So, I have five pieces of fabric and will be making four cuts. If I had four pieces of fabric, I'd make three cuts.


3. Make your first cut - usually somewhere in the middle. Just do it! Don't worry about perfection.


You now have two pieces/sections.


4. Cut again: take one piece and make your second cut. It doesn't need to be exactly like this! 


5. Make your third and fourth cuts.


I made four cuts and end up with five pieces. The five pieces represent the five fabrics you started with.


6. Re-stack the fabric:

     Leave stack 1 alone.

   Take the top piece from stack 2 and place it on the bottom of stack 2.


It should look like this.


7. Stack Again! Take the TOP TWO pieces from stack 3 and place them on the bottom of stack 3.


It will look like this!


8. And Again! Take the top THREE pieces from the next stack and place them on the bottom.


Then take the top FOUR pieces from the next stack and place them on the bottom.


9. Done! You'll end up with five blocks (layers) that are all mixed up. But there is a correct order, so don't start moving them just yet.


10. Separate Layers: Take each layer and separate them into your five blocks. You will have one piece of each fabric in a different spot on each block.

I put a piece of paper under each set so I could easily carry them to my machine to piece. This helps me keep things sorted.


11. Sew Together: 

Sew 1 to 2 and then 2 to 3.


Then sew 4 to 5.


You'll have two parts.


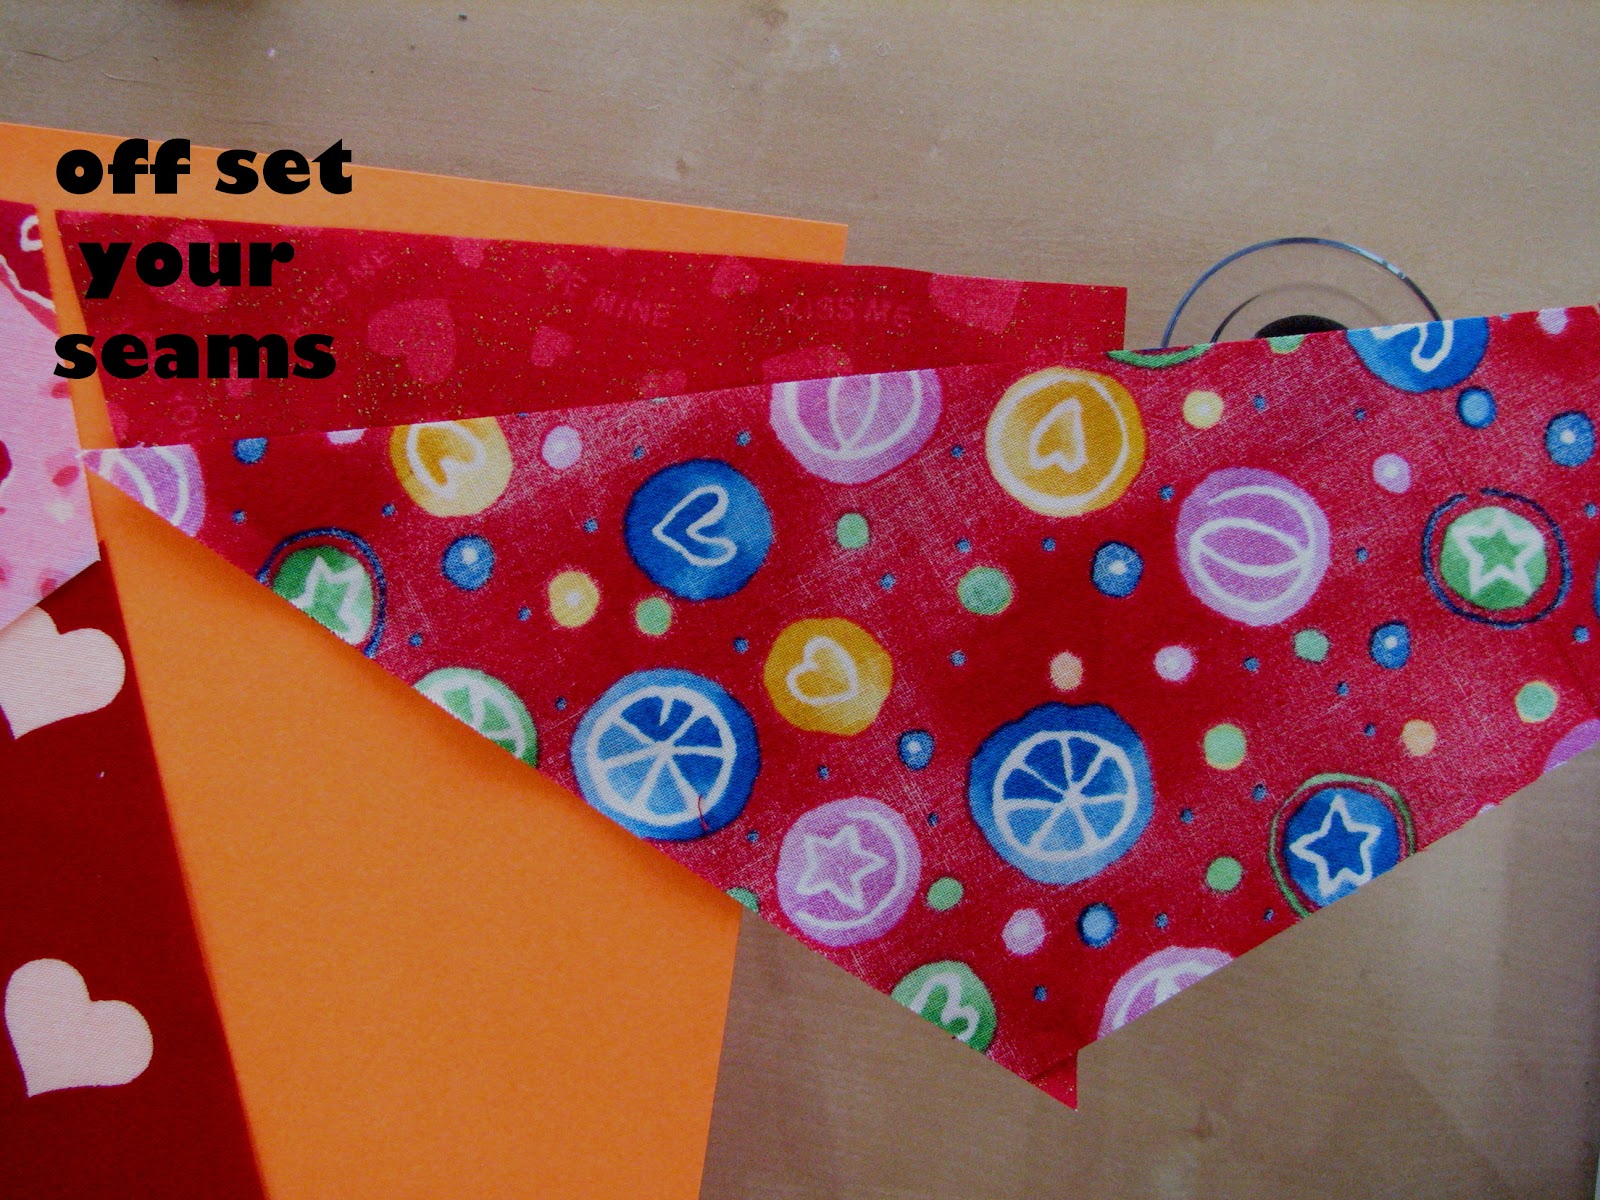
You will want to off-set your seams about 1/4" so the edges of the fabric line up more closely. They won't be perfect.


12. Trim your edges: you'll be sewing this to the 4/5 pieces.


13. Trim your other edge. It should look like this - nice and clean!


And one piece is a little bigger than the other - not a problem.


14. Sew together.


15. Square it up! I used an 8 1/2" square ruler. 


Here it is! All trimmed and ready to go.
And here are the completed blocks.


You can take it from here! You can make a quilt or sew these together, quilt, and make a tote or purse.

In any case, have fun with this technique!


Here is my very first crazy quilt.


Thanks for stopping by! As a gift, here's a free pattern for a round, zippered pouch. It's easy to make...you don't have to cut circles!


UPDATE: I've added some information on other cutting options!


Thursday, February 23, 2012

Beginning Quilting: Color

Thistled Tones from Design Seeds.

Learning to quilt can be a little overwhelming...with all those pieces of fabric...and rulers...and thread...but it can be even more mind-boggling when you throw in fabric and color selection. I consider myself a bit of a risk-taker with color -- and I have had some disasters. But I recently came across this AMAZING website that offers readers color palettes. WOW...find something that you like and head to the fabric store. I think it's become my new addiction. So please check out Jessica at Design Seeds. Wow. Wow...It's hard to pick a favorite, but for now I'll go with Thistled Tones.

Friday, February 10, 2012

Stitched: The Film

If you are looking for a great way to bring a community of quilters (and sewists) together, why not consider showing Stitched: The Film


Last month, our local Quilts of Valor group (Southern Tier Quilts of Valor) decided to host a screening of the film in Corning, NY. And what started out as, "Let's sell tickets" quickly turned into a big community event that involved local merchants and restaurants...and didn't involve selling tickets. Instead, we are asking attendees to trade a 12 1/2" block for a ticket. 

The Palace Theater (on Historic Market Street) has graciously agreed to turn their lobby into a quilt show on Tuesday, March 20th. We'll display completed Quilts of Valor along with a collection of quilts pieced from the blocks we've collected.

We are fortunate to live in an area where quilting and sewing is BIG. And we are blessed with several quilt shops, yarn shops, and craft shops along with multiple quilt guilds -- who all support our Quilts of Valor group. 

I've asked the women who are getting their tickets at my studio (Sew You Can) to use the Wonky Log Cabin pattern from Tallgrass Prairie Studio. If I can manage it, all the blocks will have the same center (gold fabric) but what they do from that point on is up to them - as long as it's patriotic themed/color fabric.


Our goal is to sell out two shows - a total of 320 seats...and 320 blocks. That's a lot of quilts all going to a great cause.


For more information, visit our website. Or go to the Quilts of Valor Foundation.


Wednesday, February 8, 2012

Freemotion Lesson: Practicing

Freemotion stitching can be a bit intimidating - I've seen that horrible look of fear when I teach this class. But after multiple lessons and lots feedback, I found something that worked - and took some of the fear away. When you are teaching yourself freemotion:
  1. Make a quilt sandwich out of old fabric or muslin. The sandwich should be about 20" x WOF. One side will be the selvage and the other will be the fold. Tuck the batting in between. Spray with basting spray.
  2. Take a Sharpie and draw lines that are about 1 1/2" to 3" apart.
  3. Remove all the thread (none...nothing in the bobbin, either). This will allow you to focus on the motion part; you won't get worried about the thread tension, the look of your design, the consistency of the length and distance between your stitches. Just play with the movement. 
  4. Make a zig-zag pattern -- start at the bottom right hand side and move from the right line to the left line, then back to the right and so on until you are at the top. Then come back down. And yes, it is often more difficult to push the fabric away from you than it is to pull the fabric toward you.
  5. When you are comfortable with the movement, add thread. You may have to adjust your tension a bit. And you may have to get a different needle (want to learn about needles? Check out the Schmetz Learning Center. If you really have trouble, change thread. Yes, you can try to figure out why that thread doesn't work, but why bother? Just change your thread.
  6. As your comfort level grows, try different designs. Need inspiration? Try the Free Motion Quilting Project! Use the lines to help you focus a bit (look at where you are going...then back at the needle...then where you are going...etc). Go in and out of the lines, so you don't create a path or runway look.
  7. When you are really ready, check out Elizabeth Hartman's tutorial on Free-Motion Quilting.
On a side note, I wear fairly tight rubber-palmed gardening gloves - nothing fancy - that allow me to grip the fabric without much fatigue on my hands. I turn it into a mini-spa by covering my hands in lotion before tucking them into my gloves! 

Also, don't forget to drop your foot! Because of the puffiness of the quilt sandwich, you may THINK your foot is down. If it isn't, you'll have big loopies on the back of your quilt sandwich.

Wednesday, January 25, 2012

Fabric Woes: Puckering

In my Beginning Quilting: The Basics class last night, one of my students was struggling as she sewed two different weights of fabric together - one was stiffer/heavier and one was softer/lighter: the softer one puckered. This resulted in uneven seams and wonky blocks. We put in a new needle, adjusted the tension, slowed down...nothing worked. Then I got out the spray starch. We got the softer fabric pieces out and sprayed (then pressed until dry) and sprayed again. The starch stiffened up the softer fabric so it would feed evenly with the other fabric. VIOLA! Problem solved!

Here is a great article on starching quilt fabric from Generations Quilt Patterns; it includes directions on making your own starch!

Wednesday, January 11, 2012

Plumb Quilts

One of the things I don't see a lot about is a "plumb" quilt. I'm borrowing a term from carpenters (my father is a carpenter), but plumb means exactly vertical or "true." For our purposes, this is a quilt that is even both vertically and horizontally. It's not wonky! When you cut and piece with precision, you get a plumb quilt. 

Figure 1
I first heard about this from my friend Ellen who is an avid quilter and longarmer - she also teaches classes in my studio. She's big into precision - so, yes, she's a pinner. But I learned that it is very difficult for a longarm quilter to quilt a wonky quilt. So as you put your quilt center together and add your borders, be sure to measure (as shown in Figure 1). Average your lengths (vertically, and then horizontally). Your borders will be that average. Pin in the middle then at the ends; as you continue to pin, you may have to work in some extra fabric or every so lightly, pull some fabric to get it to fit.  

In the end, you'll  have a nice, plumb quilt!

Tuesday, January 10, 2012

Beginning Quilting Class

I teach my first Beginning Quilting: The Basics class tonight! The class is full - with six enrolled! YAY! Tonight we'll be reviewing quilting basics and cutting fabric.
Related Posts Plugin for WordPress, Blogger...