OK, I have short hair...so headbands and me really don't go together. But I do wear one to work out. The only problem is that some are too tight or they slide off my head. So I went online and looked around for free patterns and didn't find anything that I really liked. I ended up borrowing from Kraftie Katie and from someone else (a pattern that I saw online about six years ago...that I can't find). Here's what I ended up with:
SUPPLIES: -- 1/3 yard of knit fabric: Something like a t-shirt! I used a heavier knit and one from a shirt that I made. -- 1 hair bands like these
About knits...they stretch in different directions and to different lengths, so test the stretch. My thicker (ribbed) knit was really stretchy. The thinner pink wasn't. They both work fine - one just stretches more when I put it on. Learn more about knits from Tilly and the Buttons.
Here we go:
1. Cut two pieces of fabric 6" x 21" (I measured my head and used that number).
This is the heavier, ribbed knit.
2. With RST and using a 1/4" seam, sew along the the long ends creating a tube.
I use my walking foot so the fabric doesn't stretch.
You'll end up with two tubes.
3. Turn them right side out.
4. Place them seam side up as shown.
5. Make sure the ends look like this.
6. Then fold them like this. The seam should be on the inside.
7. Then fold the ends like this and join them together.
8. Baste in layers together. It doesn't need to be perfect.
9. Fold over hair band and zig-zag over end - the zig zag will hide your raw edges. This was REALLY thick, so I had to change to my regular foot.
Test out the length. If needed, fold over more.....
10. Make sure the band isn't twisted and then repeat for the other side.
This one is a lot heavier. Slides a bit on my short, straight hair.
This one is thinner and works better for my hair and small head! Time to head outside and test them out!
I FINALLY got this pattern done. It wasn't easy. There are a million pieces, some cut on the bias. But it's SOOO worth it! It's available in my Craftsy Pattern Store. Eventually I'll get it posted in my Etsy store!
In the meantime, here's a link for a free zippered coin purse. It's round. It's easy to make (no cutting circles!).
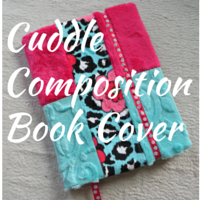
I finally found some time to get this pattern written up. My notes were a scribbled, incomplete mess, so I had to make another one just so I could figure it out! It's a quick project, though. I use the same "turning" technique that are found in the Composition Book Cover and the Breezy Business Card Holder. So much easier to make!
SUPPLIES:
Fabric for the exterior, lining, and loop
A small piece of vinyl. This can be from anything, including the package that sheets come in.
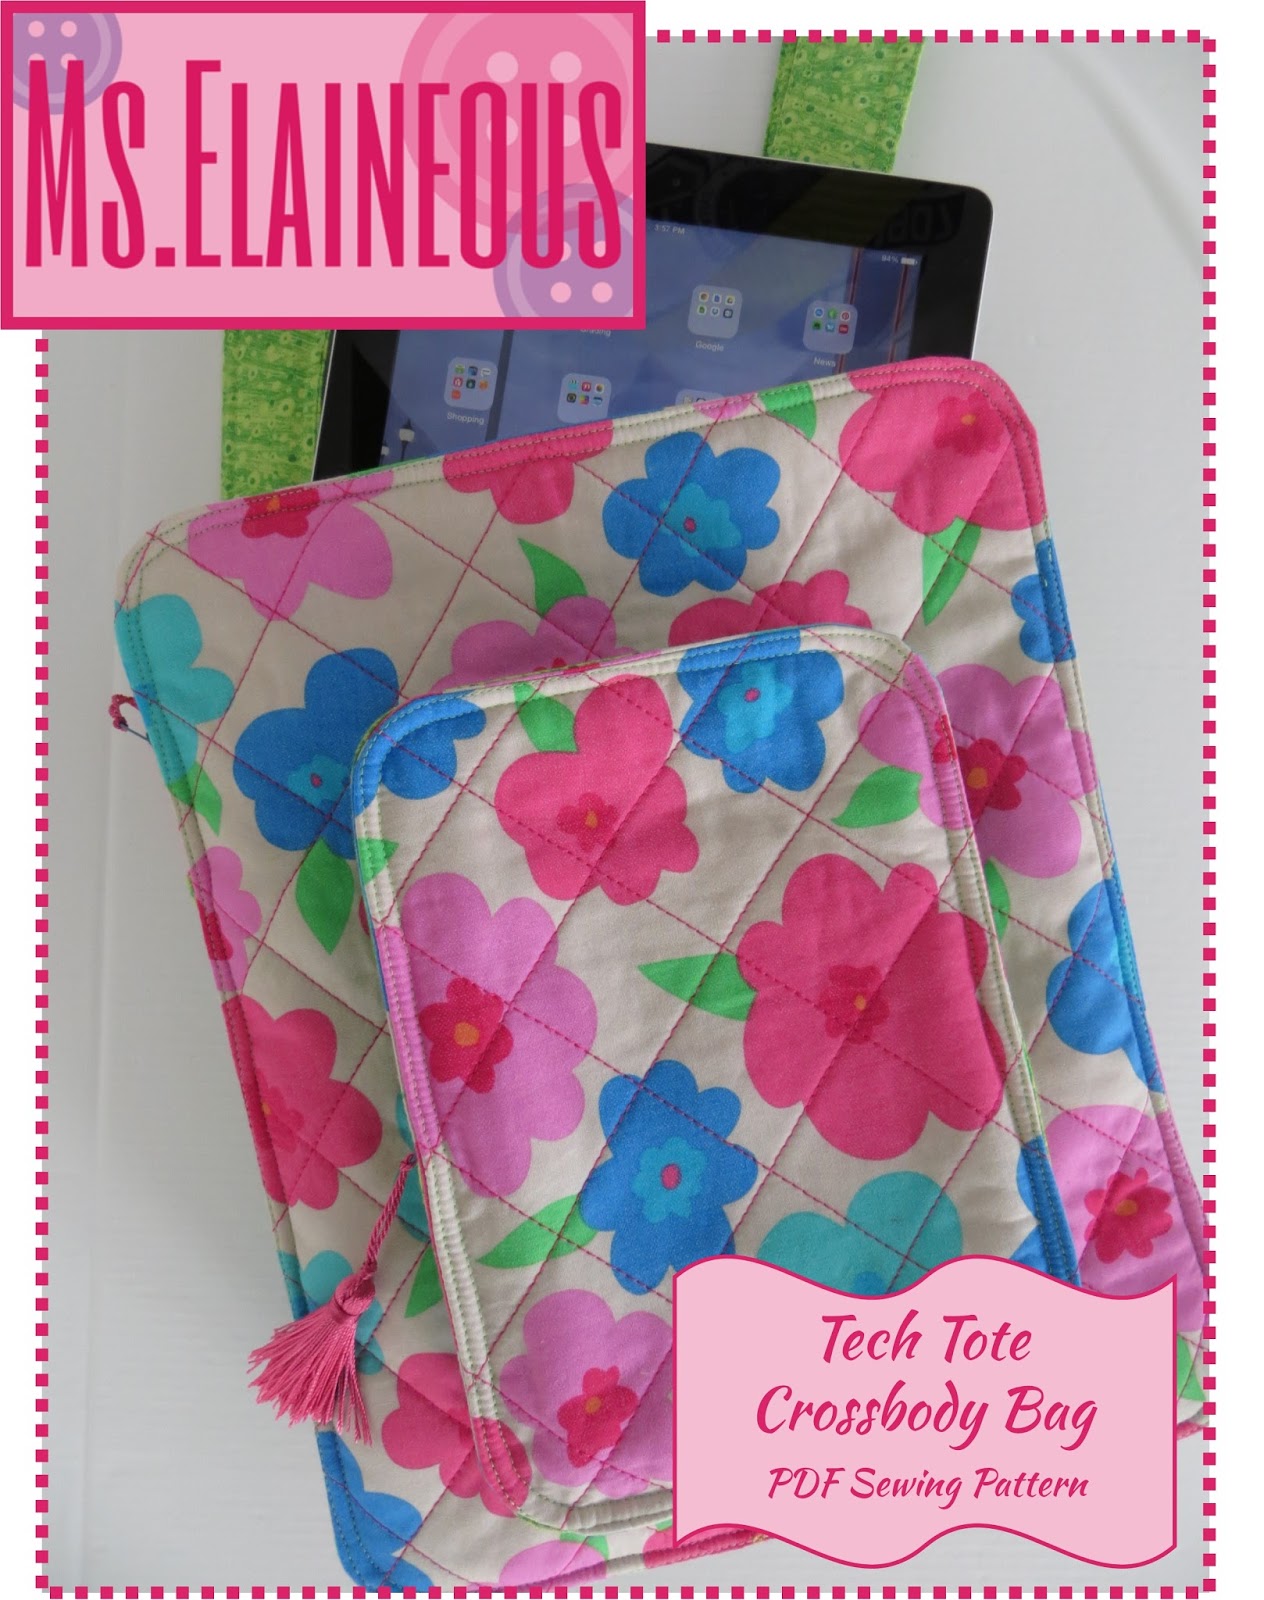
I just finished up this pattern - it seemed like it took forever! It's like I had reverse writer's block. It was a little tricky to design - the bottom is boxed - so it took some experimenting to figure out how to do it and some thinking to figure out how to communicate it in a pattern! I modeled this bag after one that I bought; this one is a bit smaller and a bit easier to get into.
It's 8 1/2" wide X 10 1/2" tall X about 1 1/2" deep (at the bottom). The top area is flat but I wanted to add depth at the bottom - rather than make it flat - so I could fit my small wallet and keys inside without having them bulge out. It's still fairly small, but it's a great size for my summer outings.
I added a slip pocket to the back. I keep my phone in here. The strap is about 45" long (once sewed on), so be sure to measure to be sure that it works for you. I'm almost 5'9" and prefer one that's about 50" long. If you want a longer strap you can buy 3/4 yard of fabric instead.
In this picture, you can see the boxed bottom. I purchased this fabric about seven years ago...yikes...with intentions of making a tote bag. I think it's a jaquard - it's woven and has the feel of two layers...if that makes sense...so it's kind of reversible. Because there is no interfacing, it's the perfect weight for this bag. It frays like crazy, though. I just love that flower. I think it's about nine years old!
If you are interested in purchasing this pattern, it's only $4.99! I keep my prices low - sewing can be expensive - so you can spend money on fabric and hardware rather than taking a chance with a pattern. I've included lots of photographs to help you sew this bag; and I've added tips and hints to make sewing easier. I can crank this out in about 75 minutes...but I know what I'm doing. I bet, with some practice, you can make one in under two hours! Purchase from CRAFTSY Purchase from Etsy
The school year is winding down and it's time to think about teacher gifts. I'm a teacher...of sorts...I teach college. So my idea of a gift is a thank-you note from a student! But many of you are trying to come up with something to give a teacher for all of his/her work over the year. So here's some advice...don't give candy and/or cookies. We can't eat that much junk food. Smelly soaps are nice, but people like different scents and dislike others. A gift certificate for a nice restaurant would be great...or one for Target...or Staples...or something like that is much more useful. I'm partial to this Loopy Lanyard and I find that teachers love them! I know that I love mine - OK, I look like a college freshman wearing my keys, but I don't lose them!
It's almost Independence Day, so to honor the true American spirit, my Star Spangled Stitching flag pattern is ON SALE for only $1! You can purchase it with auto-download in my Craftsy Store at the sale price until July 4th (2013). Then it will return to the regular price of $3.50!
Here are some pictures of the project when I offered it as a class. There were eight in the class. Each participant brought a red and a cream fat quarter to trade. They cut their stripes and traded them. Each flag looked a little different - it also saved fabric!
Doing the top-stitching!
A final flag. It looks a little different than my original. I made mine a bit more wonky.
Back in the late 1990s (when I really got into sewing), I made a bunch of these Sassy Girl stockings. This one is about 11” tall, but I made some that were about 30” tall. They were a hit with my girlfriends. I made them out of black satin, leopard fun fur, animal prints, etc. Really sassy. Then I moved and forgot about them…for about 13 years.
Last week I rediscovered this little gem while digging through old Christmas decorations! I also found my pattern – not in the best condition. I sketched out the stocking on scrap paper. It’s a little sentimental – it’s my flight itinerary from Little Rock to Detroit for Christmas!
So my goal today (other than to get some grading done), is to make another one using the same quilting technique that I did on my Star Wars Cosmetic Bag...oh, and to get the pattern pressed and uploaded to Craftsy! ALL DONE! Uploaded! Head to my Craftsy Pattern Shop to purchase...only 99 cents!
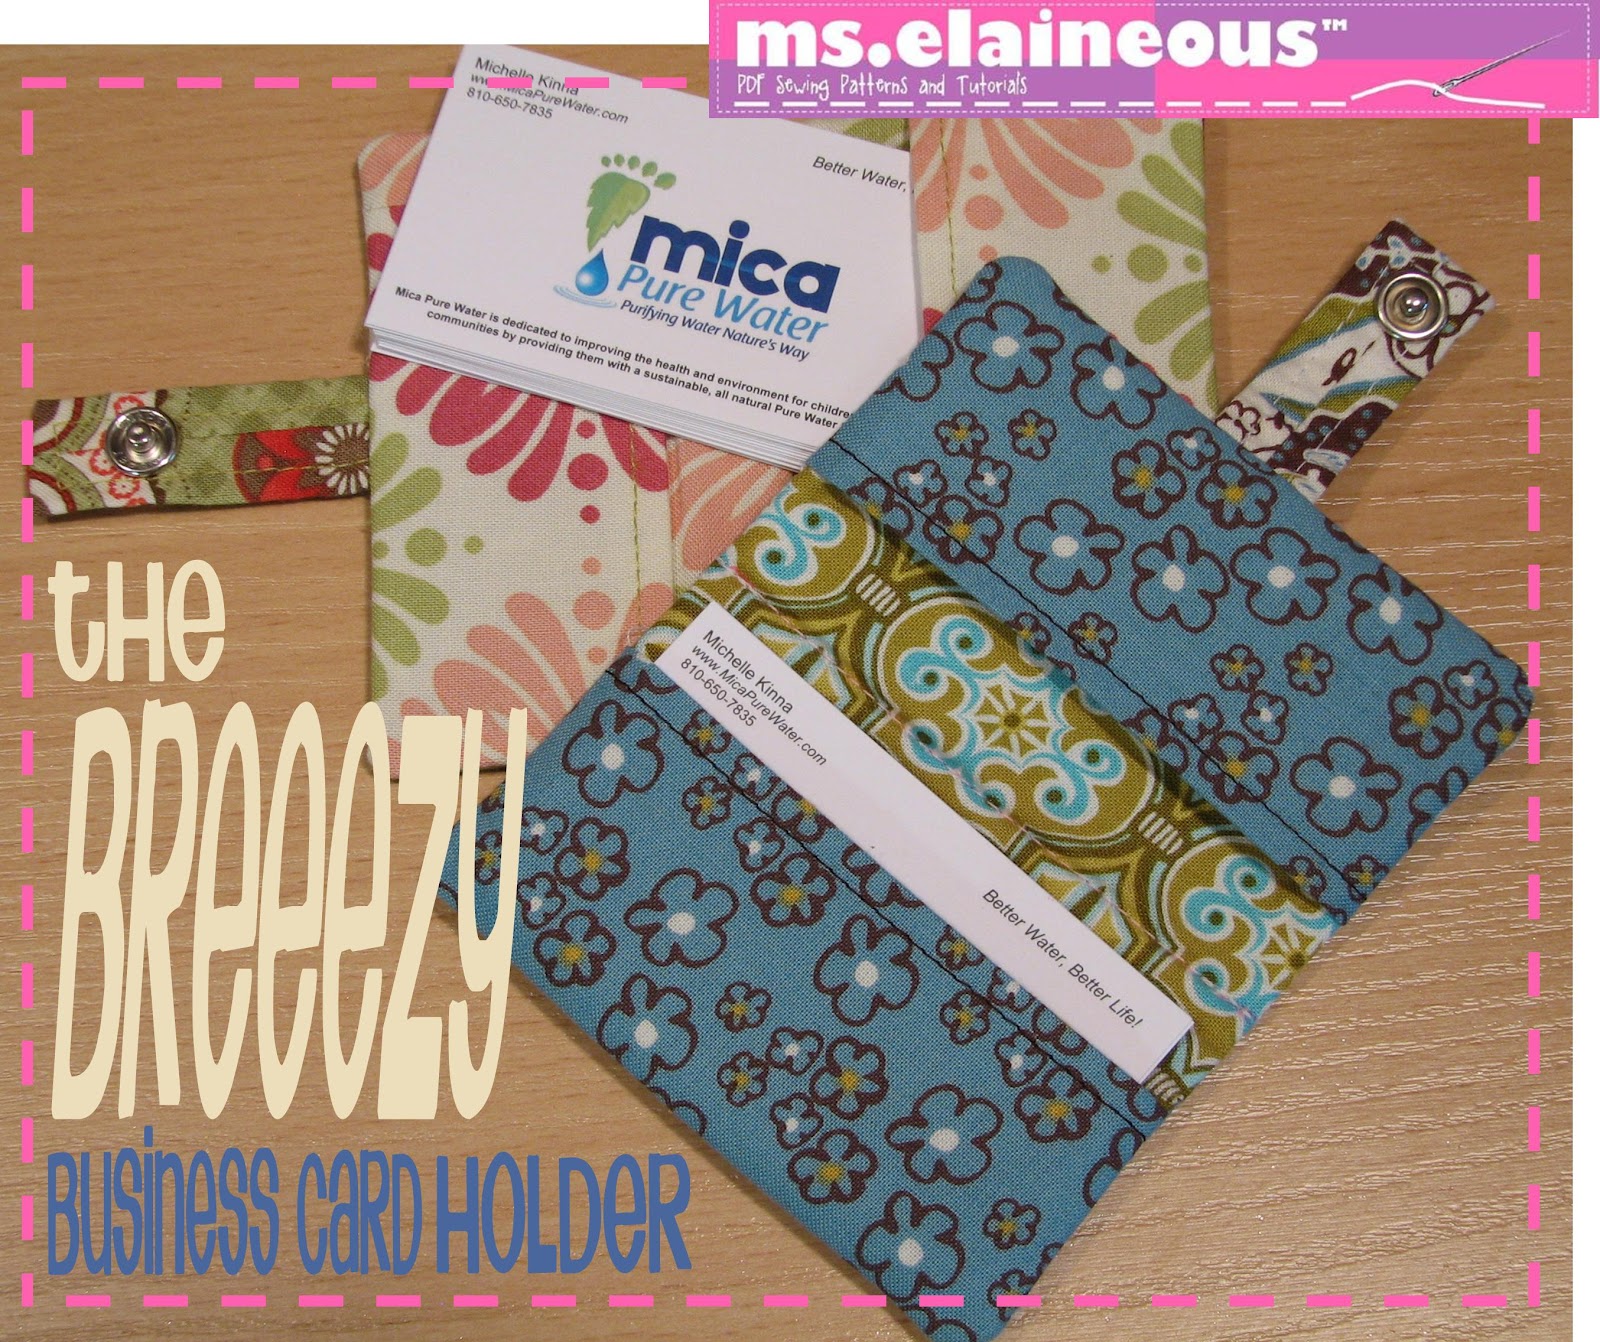
I thought I'd do a follow up to the Sew Write Composition Book Cover with this cute and easy business card holder. You'll use the same technique...which is why it's a breeeeeeeze!
SUPPLY LIST:
Fabric Scraps
Interfacing: Fusible Fleece and Lightweight Fusible
1 - 4 1/2" x 4 1/2" of the Lining Fabric (the fabric behind the pockets)
2 - 4 1/2" x 4" of the Pocket Fabric
1 - 2" x 2 1/2" of the Tab Fabric
1 - 5" x 4" of Fusible Fleece (for exterior)
2 - 4" x 4 1/2" of Lightweight Fusible (for pockets)
1 - 2" x 2 1/2" of Lightweight Fusible (for tab)
FUSE:
Fuse fleece to the WRONG side of the exterior fabric following manufacturer's directions. It will be a 1/4" smaller all the way around. This reduced bulk in the seams.
Fuse lightweight interfacing to the wrong side of the pockets and the tab.
Press pockets in half, wrong sides together, so they are 4 1/2" x 2".
OPTIONAL - topstitch close the folded edge for a more finished look. Whenever I topstitch, I increase my stitch length to 3mm.
START SEWING!
Make the tab:
Fold tab in half, right sides together (RST), so it is 1" x 2 1/2". Using a 1/4" seam, sew the open edge closed...yes, just that one side.
Press flat so the seam is in the middle. I used a small chopstick to help me hold it!
Using a 1/4" seam, sew ONE of the open ends closed.
Clip seam to about 1/8" and, using your Turn-it-all, turn it right side out and press flat. If you don't have one of these tools, you'll want to buy one. Really. Buy one. Genius.
OPTIONAL: topstitch around three sides of the tab, pivoting at the corners. Just start at the open end and work your way around!
Mark snap placement: On the fleece side of the exterior, mark 2 3/4" in from the 5 1/2" side and about 1 1/4" in from the 4 1/2" side. This is will be the front of the b.c. holder -- so pick the nice side!
SNAP TIME! Place the silver prong open ring over the mark so the prongs poke through to the exterior.
Flip over so it's right side up. Using your Snapsetter Tool (another must for every sewing room), attach the socket to the prong.
Place the exterior right side up. Place the tab in the middle of 4 1/2" side that does NOT have the snap. The seam of the tab should be facing up.
Baste tab in place using about an 1/8" seam (anything less than a 1/4" is fine).
With exterior right side up, place pockets on as shown. Line them up along the sides and top/bottom.
If you'll notice here, I cut my pockets too small and had to add to them. That's what I get for trying to do this ... in my basement ... during a tornado warning.
Baste pockets in place using about 1/8" seam.
With exterior right side up, place lining right side DOWN on top - sandwiching the pockets and the tab.
Because the lining is smaller, you will have about a 1/2" open, exposing the pockets...this is how you'll be turning this right side out!
Using a 1/4" seam, sew ALL THE WAY AROUND. If it's a bit wonky, sew with the fleece on top.
Carefully clip corners. Turn right side out using the opening/lining. If it looks a bit odd, you may have to flip the pockets around!
Press flat.
With lining right side up, mark a line that is 3/4" in from the pockets. This should be in the middle...between the two pockets.
Sew directly on that line.
TIP: to hide your starting and ending threads - start about 1/2" in from the edge...take a few stitches, back stitch to the edge, then sew all the way down to the other edge...then back stitch about 1/2" and clip - this buries your threads in your stitches!
Using your Snapsetter Tool, attach the stud/decorative snap to the tab. Make sure the pretty side of the snap is on the outside/unseamed part of the tab! You may want to put some business cards, close it, and wrap the tab around so you can mark the tab snap where you want to place it.
DONE!! YAY...another super easy project brought to you by Ms.Elaineous!
OTHER IDEAS:
Are you a bit of an Anglophile? Then check out this needle holder from Make It Do...you could use the same concept for this business card holder!
If you don't use business cards, you could make these to hold all of your loyalty cards and/or gift cards!
Add a ring holder so hang keys on! It's perfect for a college student - it will hold and ID card along with a room key!
A FEW OTHER THINGS...
And about that tornado. We just had rain and wind but my sewing friends in Elmira (20 miles east of Corning) weren't so lucky. A tornado touched down and caused damage to several homes. But they are safe now and crews are working to get things back to normal!
I recently started to cook - this is a new thing for me. Up until a few weeks ago, I occasionally cooked meals when my boyfriend was here. But really, cooking to me is making nachos, hamburgers, and chicken breasts. Nothing too taxing.
So along with eating healthier, I am getting my kitchen organized. I meal plan using meal planning printables and shop using coupons. It took me a while to come up with a system that worked for me. So once, I did, I set out to find a coupon organizer that I liked. And here it is - it's from iSew - I purchased the PDF pattern from her Etsy shop.
I really like how it turned out. I used clear vinyl tabs but she gives you options, including printing labels on fabric. She even provides pre-designed labels. I haven't quite figured out my organizational strategy, so mine are blank for now.
The only pattern quirk I found was when it came time to assemble the side panels. I sewed all the way around and left a hole to turn right side out - when all I really needed to do was sew along the top edge to create a tube.
I got a little lazy with the binding - next time I'll move the snap on the flap down so I can get my foot around it. So, no, I didn't hand sew the binding. For some reason, that just isn't my thing.
Looks like I'll have to put my sewing down for a while and get busy clipping coupons!




 Time to head outside and test them out!



 FUSE:
FUSE:
 START SEWING!


