Pages

 photo Home_zpspchzwjez.png  photo Patterns_zpsffe5v7nd.png  photo Tutorials_zpsplo1y0ea.png  photo 193faa8a-319f-4666-9915-a2cc9af19bda_zpsah1i88qv.png  photo 1aff47d5-9779-4086-ae8c-7c8a885b6c47_zpsyyyqf1xu.png
Showing posts with label Teacher Gifts. Show all posts

Saturday, April 23, 2016

Transit Tote Class


A few weeks ago, I taught six of my friends to make a Transit Tote. The six hour class (with lunch break) started late thanks to a brief April snow storm; and here's the thing...up to that point of the year, we had a total snow fall of about 10". So it was totally unexpected. The 45 minute drive to Penn Yan took about 30 minutes longer. Why was that a problem? All six were already exhausted when they arrived!

Truth be told, this is not a fast project. There are a lot of little steps, and my Inside-Out Zipper Technique is counter-intuitive and unlike most zipper techniques. So there's not a lot of "Oh, I know what we are doing next" moments. But, there is good news: once you make one, you'll probably say, "Wow....I get it."

But Amy was a trooper. Out of all six, she was the least experienced. As I watched her, she'd read aloud...one step at a time. And really, that's the best way to tackle this pattern.

And here's she is:

Yes, there's a lot going on.


Toward the bottom of the picture, you'll see the zipper bottom with the mesh pocket. Looks fab!
Paper and a zipper!


Done! Here's the inside. I love the red ribbon zipper tabs!


Here's the front!

Nice work Amy!


You can purchase this pattern in my Craftsy Store and on Etsy.


Monday, August 10, 2015

Free Back-To-School Patterns

Looking for some quick projects to start the school year?


Here are some of my free patterns that are perfect for the student in your life!

http://mselaineousteachessewing.blogspot.com/2015/07/java-jacket-free-pattern.html

http://mselaineousteachessewing.blogspot.com/2015/07/stretchy-headband-free-pattern.html

http://mselaineousteachessewing.blogspot.com/2015/07/cord-taco-free-sewing-pattern.html

http://mselaineousteachessewing.blogspot.com/2012/04/free-pattern-loopy-lanyard.html

http://mselaineousteachessewing.blogspot.com/2012/08/free-pattern-luggage-tag.html

http://mselaineousteachessewing.blogspot.com/2013/01/inspired-id-wallet.html

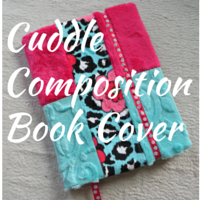
http://shannonfabrics.com/blog/2013/06/27/the-cuddle-composition-book-cover/

http://mselaineousteachessewing.blogspot.com/2012/07/the-breezy-business-card-holder-free.html

Monday, July 27, 2015

Java Jacket: Free Pattern


I'm more of a make-your-coffee-at-home kind'a gal, but I have friends who swear by coffee shop coffee. So this one is for all of you...

SUPPLIES:


2 -- 6” x 13” fabric (front/back)
1 -- 6” x 13” fusible fleece
1 -- 3½” piece hook and loop tape

Get PATTERN here. (Don't "fit" it when you print - either print Actual Size or Scale 100%). Cut pattern out. You might want to transfer the markings to cardboard - it's easier to trace. 

Here we go...


1. Fuse fusible fleece to back of front piece  (following manufacturer's directions).


2. Using pattern, cut out front and back pieces.


3.  With RST, line up along bottom (shorter edge). Using a 1/4" seam, sew together.


4. Line up other side (creating a tube). Using a 1/4" seam, sew together.


5. At one shorter end, flatten fabric as shown. Try to keep it evenly distributed.

6. Using a 1/4" seam, sew this closed.


7. Repeat for the other side..EXCEPT... leave a 2" opening.

DO NOT CLIP CORNERS!!


8. Turn right side out and press flat.


9. At opening, tuck in the excess fabric and press flat.


10. Sew around the perimeter of the Java Jacket, staying close to the edge. You will sew the opening closed.


Here it is!


11. Sew one side of hook and loop tape to the back. Keep it close to the end!


12. Flip it to the front. Sew other piece of hook and loop tape to the front. Note the placement! It's about 1" from the end at the top and about 1/2" at the bottom.

If you are unsure about the circumference of the cup, wrap the Java Jacket around the cup and, using a fabric marker, draw a line at the end. 


Does your favorite coffee drinker use a loyalty card? Why not add a pocket!?


Jazz it up with a machine embroidery designs. Just head to Embroideries and search "COFFEE" - some are free, most are really inexpensive.

 
Enjoy!
And here's a free pattern for an easy-to-make round zippered pouch. No, you don't have to cut circles!!

Friday, July 24, 2015

Cord Taco Free Sewing Pattern


Corral those earbud and cords with this cord taco! It's really easy to make because it involves very little sewing! 

SUPPLIES:
2 - 4" squares of fabric
1 - 4" square of Heat n' Bond Lite
1 - Size 16 snap

It helps if you have an overlock/cast foot. You'll be using an overcast stitch and this foot is designed to help with that (it has a pin that supports the stitch as it "overcasts" the edge of the fabric).

Here we go...

1. Cut your 4" squares of fabric and Heat 'N Bond Lite.

2. Following manufacturer's directions, fuse two pieces of fabric together (wrong sides together!).


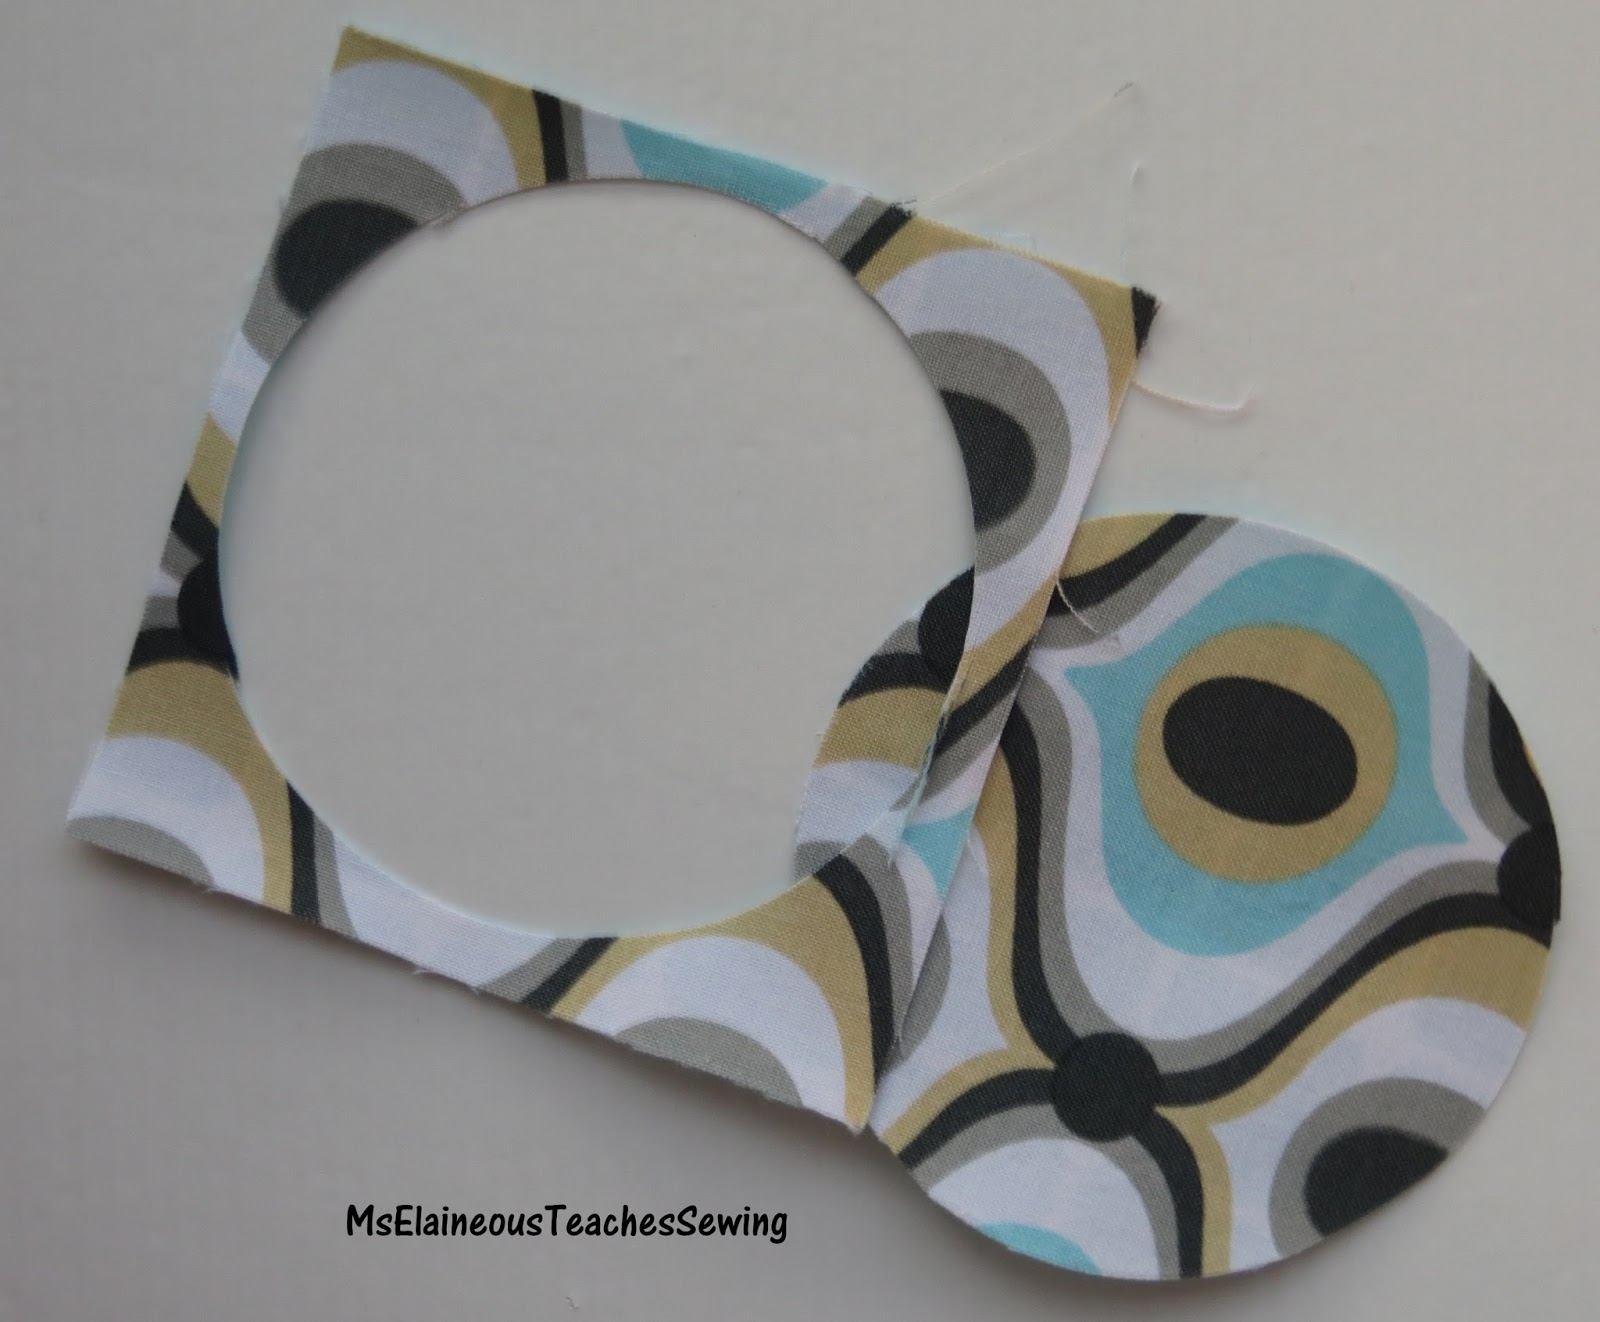
3. Cut out a 3 1/2" circle. 

I use this Olfa circle rotary cutter. You could also use a compass to draw a circle, then cut out with scissors.


 4. Using a zig-zag or overcast stitch, sew around the outside of the circle. I made my stitches close together and went around twice. This allowed the thread to fill in nicely.


And here's what it looks like!


5. On the inside of your taco, mark mid points as shown (1 3/4"). You only need one. I have no idea why I drew both!

6. On one line, mark 3/8" down from the edge.

 7. Transfer those dots to the outside fabric. I just held the circle up to the window so I could see the dots and marked the other side.


8. Using the dots as a guide, insert the prong ends from the outside.


The inside will look like this. Use the dots to make sure that your snaps are in the right spot!


 9. Attach your snaps. I use this SnapSetter. I love it. Love. I could never get pliers to work.


Here it is!


Corral those earbuds and snap it together!


Thanks for reading! Here's a bonus pattern for a free zippered coin purse!


Sunday, July 12, 2015

Free Pattern: The Luggage Tag


I finally found some time to get this pattern written up. My notes were a scribbled, incomplete mess, so I had to make another one just so I could figure it out! It's a quick project, though. I use the same "turning" technique that are found in the Composition Book Cover and the Breezy Business Card Holder. So much easier to make!

SUPPLIES:
Fabric for the exterior, lining, and loop
A small piece of vinyl. This can be from anything, including the package that sheets come in.
A walking foot
A buttonhole attachment


Thursday, June 4, 2015

Teacher Gift Idea

The school year is winding down and it's time to think about teacher gifts. I'm a teacher...of sorts...I teach college. So my idea of a gift is a thank-you note from a student! But many of you are trying to come up with something to give a teacher for all of his/her work over the year. So here's some advice...don't give candy and/or cookies. We can't eat that much junk food. Smelly soaps are nice, but people like different scents and dislike others. A gift certificate for a nice restaurant would be great...or one for Target...or Staples...or something like that is much more useful. I'm partial to this Loopy Lanyard and I find that teachers love them! I know that I love mine - OK, I look like a college freshman wearing my keys, but I don't lose them!


Sunday, November 24, 2013

Christmas Sewing Frenzy Part One: Apron

final

UPDATE: The holidays are approaching, so I thought I'd repost one of my favorite patterns! I originally shared this in December 2012.

I turned my grades in and have been crazy trying to get caught up making Christmas gifts. So here the first gift: my friend’s ruffled apron with bib.

I used Alysa’s Awesome Apron pattern to make it – and then added the bib using an idea I saw on Sew4Home. I made only one change – I cut this bib 10” x 11” because the band on the apron comes up fairly high.

IMG_6423

Here’s the monogram – from Digistitches.


Sunday, March 3, 2013

Smartphone+ Part Deux!

Yesterday I posted my final smartphone project. A reader commented about adding a pocket to make the phone more secure. It got me thinking -- my phone is thin but not all phones are. Last week I was meeting with my tax preparer (not my favorite thing to do) and I noticed that she was eyeing my wristlet. We started talking about our love for all things portable and she showed me what she used. Her little zippered bag was cute but she couldn't carry her phone in it.

Today I went to breakfast with a friend and after some stimulating conversation, came home and went to work on amending this pattern. I had to work around two issues: 1) the pocket had to be on the outside and 2) the phone had to be easily accessible but secure. This is what I came up with:


I love this pocket but struggled to come up with a way to keep the phone from falling out. I considered velcro -- but I HATE velcro and try to avoid it at all costs. I sewed the pocket on before I thought through it, so I was kind of stuck. I starting digging in my little hardware cabinet and came up with a grommet, toggle, and twill tape.

It turned out! I might replace the grommet with a buttonhole when I make the next one. I worry about the grommet scratching the glass (but hey...it's Gorilla Glass, so it really shouldn't scratch!).


It's still thin.

And here you can see how I attached the twill tape! YAY! I'll be taking my pattern out of my Craftsy Pattern Shop to update it.

Friday, February 22, 2013

Smartphone+ Wristlet

Last month my friend Tanya reminded me for about the fourth time that she needed a new wristlet for her iPhone. I wanted to help her but I thought it was really beyond what I could do...that zipper...that goes around three sides? Ugh. A little more than my brain was willing to tackle.

But last night something happened. Maybe it was a spark of confidence...maybe over-confidence. Who knows. Nonetheless, I sat down and attempted to figure out how to make her a wristlet. I started searching online for some assistance but came up empty. I couldn't find any patterns that included a zipper that was on more than one side of the pouch. I did, however, find some other patterns and tutorials that got me thinking and problem-solving. 

I started working on the prototype at about 8pm; finished that about an hour later, the went to work on the first draft. I sewed until 10 pm and, although it killed me, I went to bed (5:30am comes a little too quickly). I got up, went to work, came home, and finished it!

So here it is. And the zipper wasn't too difficult.


It's 6 1/2" long and 4 3/4" tall. I put zippered pockets on each side.


Here's the bigger pocket.


Here it is partially unzipped.


I decided to replace the pocket on the left with more card slots and maybe a little tube pocket for lip balm. 

This pattern will take me a while to write up...but stay tuned!
Related Posts Plugin for WordPress, Blogger...