Pages

 photo Home_zpspchzwjez.png  photo Patterns_zpsffe5v7nd.png  photo Tutorials_zpsplo1y0ea.png  photo 193faa8a-319f-4666-9915-a2cc9af19bda_zpsah1i88qv.png  photo 1aff47d5-9779-4086-ae8c-7c8a885b6c47_zpsyyyqf1xu.png
Showing posts with label Transit Tote. Show all posts

Saturday, April 23, 2016

Transit Tote Class


A few weeks ago, I taught six of my friends to make a Transit Tote. The six hour class (with lunch break) started late thanks to a brief April snow storm; and here's the thing...up to that point of the year, we had a total snow fall of about 10". So it was totally unexpected. The 45 minute drive to Penn Yan took about 30 minutes longer. Why was that a problem? All six were already exhausted when they arrived!

Truth be told, this is not a fast project. There are a lot of little steps, and my Inside-Out Zipper Technique is counter-intuitive and unlike most zipper techniques. So there's not a lot of "Oh, I know what we are doing next" moments. But, there is good news: once you make one, you'll probably say, "Wow....I get it."

But Amy was a trooper. Out of all six, she was the least experienced. As I watched her, she'd read aloud...one step at a time. And really, that's the best way to tackle this pattern.

And here's she is:

Yes, there's a lot going on.


Toward the bottom of the picture, you'll see the zipper bottom with the mesh pocket. Looks fab!
Paper and a zipper!


Done! Here's the inside. I love the red ribbon zipper tabs!


Here's the front!

Nice work Amy!


You can purchase this pattern in my Craftsy Store and on Etsy.


Tuesday, January 5, 2016

Understanding the Transit Tote

When I decided to create the Transit Tote, I was inspired by this cosmetic bag that I had been using every day to store my make-up. I think it was from Lancome? Clinique? Estee Lauder? Who knows. I loved it and knew that I could modify it to fit my traveling needs. 

I had to adapt my Inside-Out Zipper Technique quite a bit to make this, but in the end, it's something that I'll be using to design a lot of other patterns.

I am not a fussy sewer. In a way, I'm more of an engineer who sews. That seems odd to those who know me. I'm not an engineer. In fact, my math skills end with geometry. I teach college...and I teach nothing remotely close to engineering... or art for that matter. I teach communication. But I've always loved technical writing, so writing patterns is fairly easy (and fun) for me. I am an efficient person; I streamline just about everything I come in contact with. Maybe I watched the original Cheaper By The Dozen a few too many times. FYI...if you watch the original, you'll be introduced to Frank and Lillian Gilbreth - pioneers of time and motion studies. Lillian Gilbreth invented lots of things that make our lives easier - like the foot-pedal trash can and egg/butter trays in refrigerators.

So figuring out how to make this cosmetic bag became a challenge. I made a few rough drafts and got it on the third take.

Here's what you end up working with:

1. A lid and a bottom.

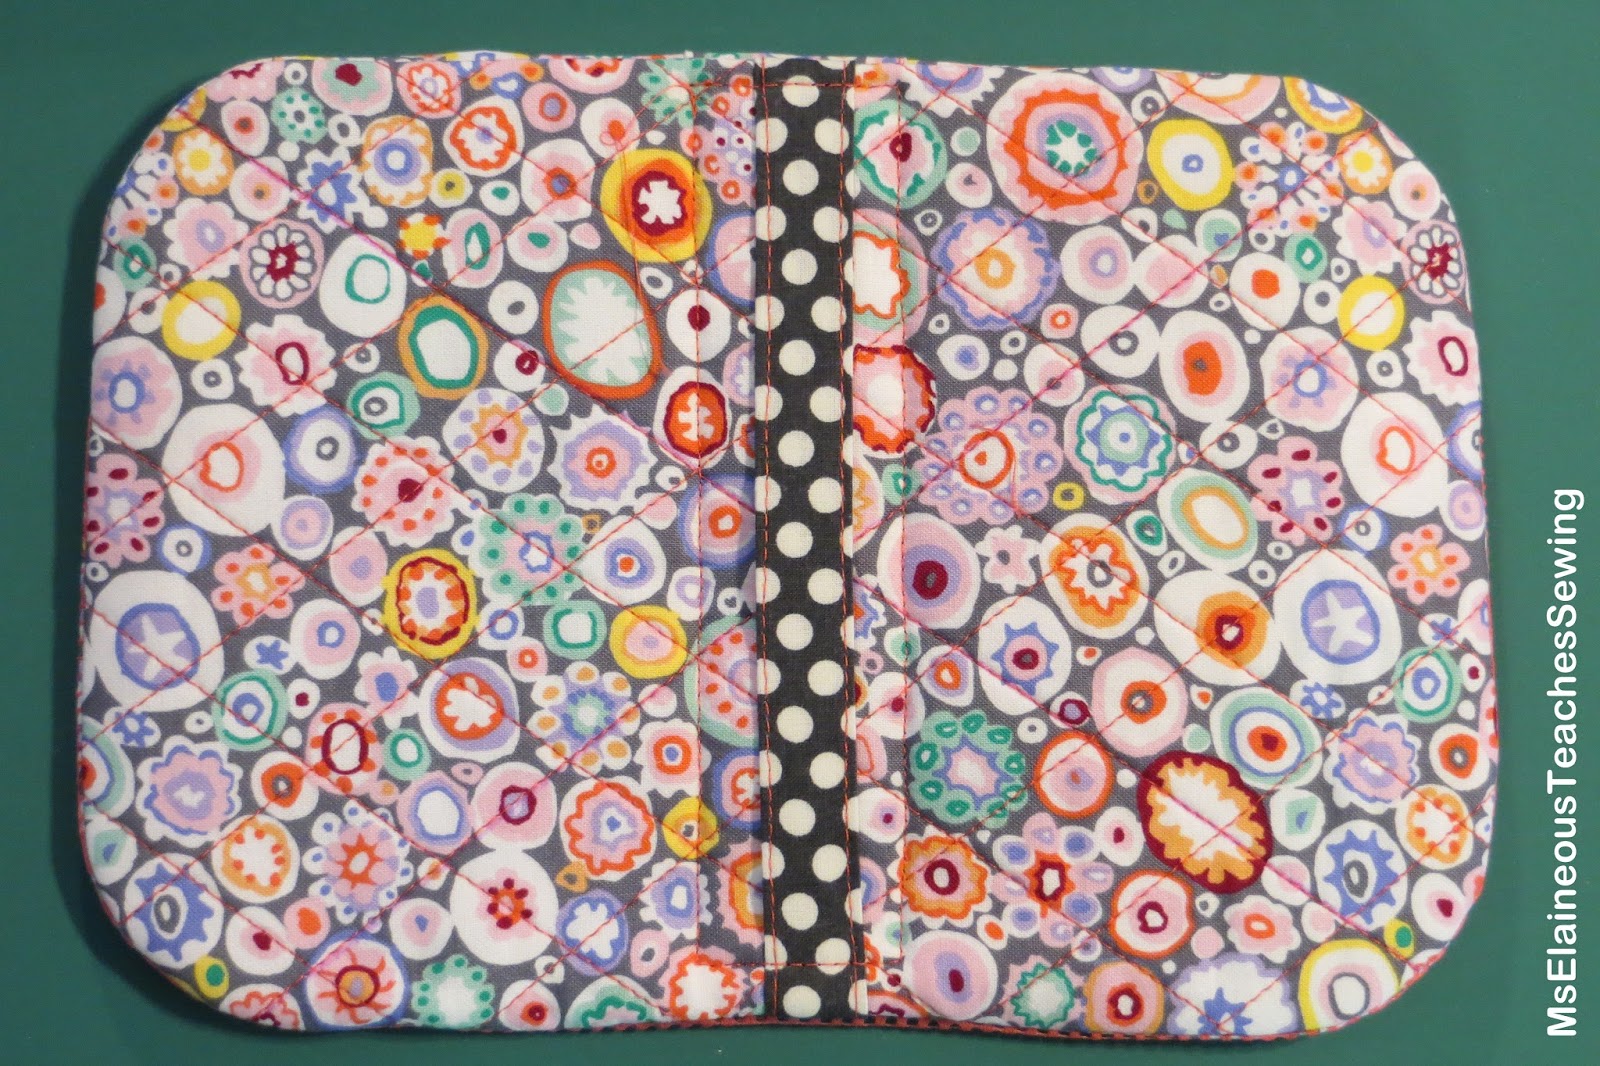
 This is the lid (inside).


The lid (outside). The gray dotted fabric is the handle.

There's a bottom piece that is similar.


2.  A zipper panel.

This goes together using the Inside-Out Zipper Technique.


When the zipper panel is complete, it looks like this.


And those three pieces get sewn together:


Sewing the bottom to the zipper panel. It's a bit cumbersome, but nothing too difficult. There are a lot of layers, so I used a jeans needle and went slowly.


The bottom is on! Now I'm sewing the lid to the zipper.


Those Wonder Clips are a life-saver!

The assembly is counter-intuitive. If you bought the pattern you'll probably wonder what I was thinking...but don't give up. Just take each step one at a time. Trust me...it looks more complex than it actually is!


Here it is. This was the third one I made.


And the back.


I'm back to work soon, but I plan on developing a backpack pattern using this technique. I bought a cute artist notebook at TJ Maxx and already began sketching it.


Monday, January 4, 2016

Transit Tote Pattern Review

I recently sent my Transit Tote pattern out for review to have someone make it and test the pattern. OK...the someone was my sister. And if you have a sister, you probably know that they are the best pattern testers! I knew I'd get honest feedback.

My sister knows a lot about sewing. She makes clothes, slipcovers, curtains, etc...; a few years ago she took up quilting. And I'm not biased (really!), but she's talented. Much more detailed than I am. She's more of a traditional sewer who sews from store-bought patterns. Needless to say, I was a bit nervous. 


She ended up making three of them - they are for her two daughters and one daughter-in-law. I love the red zippers!

The good news is that she had very few corrections - and they were additions to help someone who's familiar with traditional patterns.

Here's her review on Craftsy:

Have been sewing for decades but always used traditional patterns. Loved the pictures of the Transit Tote but when the pattern came was a bit confused by the nontraditional way it was made. Decided the best thing to do was trust the designer. I followed the directions carefully (good pics! great instructions!). LOVE IT!!! Made 3 for my daughters for Christmas. NOW the pattern makes perfect sense!! (Note: The Peltex was difficult to sew through, probably won't use it next time.)

I agree with her review of the Peltex. I prefer a tote that I can squish into my bag! You can purchase this pattern on Craftsy and on Etsy

You can read more about this pattern here.

Sunday, August 9, 2015

Transit Tote PDF Sewing Pattern

I've been working on this Transit Tote pattern for over a week! My brain is fried!


I ended up making six of these. When designing a pattern the first step is to focus on the big problems (measuring and design flaws). Then each subsequent one allowed me to fine-tune and focus on the minor problems (like technique and removing bulk). During this time, I post pictures on a private/secret FB group and get feedback.


Here's the front. I included a tutorial for adding two zippers rather than one long one. I used a version of my Inside-Out Zipper technique so you don't really "birth" the bag - and you don't have raw edges anywhere!
 

The mesh pockets are made with the mesh from a laundry bag!


The final size is 6 1/2" x 9 1/2" x 6" (tall).


The pattern includes this little Jewelry Valet. It unsnaps and folds flat so it will fit in your luggage. 

It's 4 3/4" x 4 3/4".
You'll also get the pattern for this little zippered mesh bag. It's 4" x 8".


The project looks more complicated than it really is. It took me about 3 hours to make the last one (and that includes jotting down pattern changes and new ideas). The technique that I created is unconventional, so read through the entire pattern before starting! Have fun!

Purchase in my Craftsy Shop 
Purchase in my Etsy Shop

And here are some behind-the-scenes from my "photo shoot" this morning.


My sewing room - getting ready. I think it's a lot like me...looks better in person. Really, it looks messier than it actually seems!


My photo studio. This is my screened-in porch. Those are "cat" shelves that my cats ignore. They prefer the carpet-covered kitty condo that's been moved to another part of my house.

I taped up white paper to make the background neutral.


Here's my design assistant. It was a bit chilly, so I donned my Mansfield University sweatpants and my ...uhm...25 year-old Penn State sweatshirt and headed out with my high-tech Canon camera. Really, it's not high-tech. It's a point-and-shoot that fits in my pocket. 


So nothing fancy here. I really love this tote which made doing this a lot of fun. But I had trouble stopping - I couldn't stop with the Transit Tote...I had to make the mesh bag...and the jewelry valet. Why? I head back to work next week (I teach college) and once classes start, I'm down for the count! 

I hope you enjoy sewing this tote! Happy travels!
Related Posts Plugin for WordPress, Blogger...