
I'm more of a make-your-coffee-at-home kind'a gal, but I have friends who swear by coffee shop coffee. So this one is for all of you...
SUPPLIES:
2 -- 6” x 13” fabric (front/back)
1 -- 6” x 13” fusible fleece
1 -- 3½” piece hook and loop tape
Get PATTERN here. (Don't "fit" it when you print - either print Actual Size or Scale 100%). Cut pattern out. You might want to transfer the markings to cardboard - it's easier to trace.
Here we go...
 1. Fuse fusible fleece to back of front piece (following manufacturer's directions).

2. Using pattern, cut out front and back pieces.

3. With RST, line up along bottom (shorter edge). Using a 1/4" seam, sew together.

4. Line up other side (creating a tube). Using a 1/4" seam, sew together.
 5. At one shorter end, flatten fabric as shown. Try to keep it evenly distributed.
6. Using a 1/4" seam, sew this closed.

7. Repeat for the other side..EXCEPT... leave a 2" opening.
DO NOT CLIP CORNERS!!

8. Turn right side out and press flat.
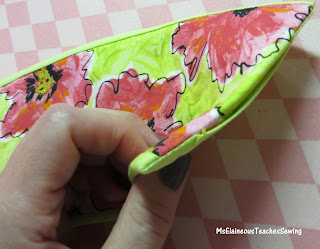
9. At opening, tuck in the excess fabric and press flat.

10. Sew around the perimeter of the Java Jacket, staying close to the edge. You will sew the opening closed.
 Here it is!
 11. Sew one side of hook and loop tape to the back. Keep it close to the end!
 12. Flip it to the front. Sew other piece of hook and loop tape to the front. Note the placement! It's about 1" from the end at the top and about 1/2" at the bottom.
If you are unsure about the circumference of the cup, wrap the Java Jacket around the cup and, using a fabric marker, draw a line at the end.
Does your favorite coffee drinker use a loyalty card? Why not add a pocket!?
Jazz it up with a machine embroidery designs. Just head to Embroideries and search "COFFEE" - some are free, most are really inexpensive.
Enjoy!
And here's a free pattern for an easy-to-make round zippered pouch. No, you don't have to cut circles!!
OK, I have short hair...so headbands and me really don't go together. But I do wear one to work out. The only problem is that some are too tight or they slide off my head. So I went online and looked around for free patterns and didn't find anything that I really liked. I ended up borrowing from Kraftie Katie and from someone else (a pattern that I saw online about six years ago...that I can't find). Here's what I ended up with:
SUPPLIES:
-- 1/3 yard of knit fabric: Something like a t-shirt! I used a heavier knit and one from a shirt that I made.
-- 1 hair bands like these
About knits...they stretch in different directions and to different lengths, so test the stretch. My thicker (ribbed) knit was really stretchy. The thinner pink wasn't. They both work fine - one just stretches more when I put it on. Learn more about knits from Tilly and the Buttons.
Here we go:
1. Cut two pieces of fabric 6" x 21" (I measured my head and used that number).
This is the heavier, ribbed knit.
2. With RST and using a 1/4" seam, sew along the the long ends creating a tube.
I use my walking foot so the fabric doesn't stretch.
You'll end up with two tubes.
3. Turn them right side out.
4. Place them seam side up as shown.
5. Make sure the ends look like this.
6. Then fold them like this. The seam should be on the inside.
7. Then fold the ends like this and join them together.
8. Baste in layers together. It doesn't need to be perfect.
9. Fold over hair band and zig-zag over end - the zig zag will hide your raw edges.
This was REALLY thick, so I had to change to my regular foot.
Test out the length. If needed, fold over more.....
10. Make sure the band isn't twisted and then repeat for the other side.
This one is a lot heavier. Slides a bit on my short, straight hair.

This one is thinner and works better for my hair and small head!
 Time to head outside and test them out!
Corral those earbud and cords with this cord taco! It's really easy to make because it involves very little sewing!
SUPPLIES:
2 - 4" squares of fabric
1 - 4" square of Heat n' Bond Lite
1 - Size 16 snap
It helps if you have an overlock/cast foot. You'll be using an overcast stitch and this foot is designed to help with that (it has a pin that supports the stitch as it "overcasts" the edge of the fabric).
Here we go...
1. Cut your 4" squares of fabric and Heat 'N Bond Lite.
2. Following manufacturer's directions, fuse two pieces of fabric together (wrong sides together!).
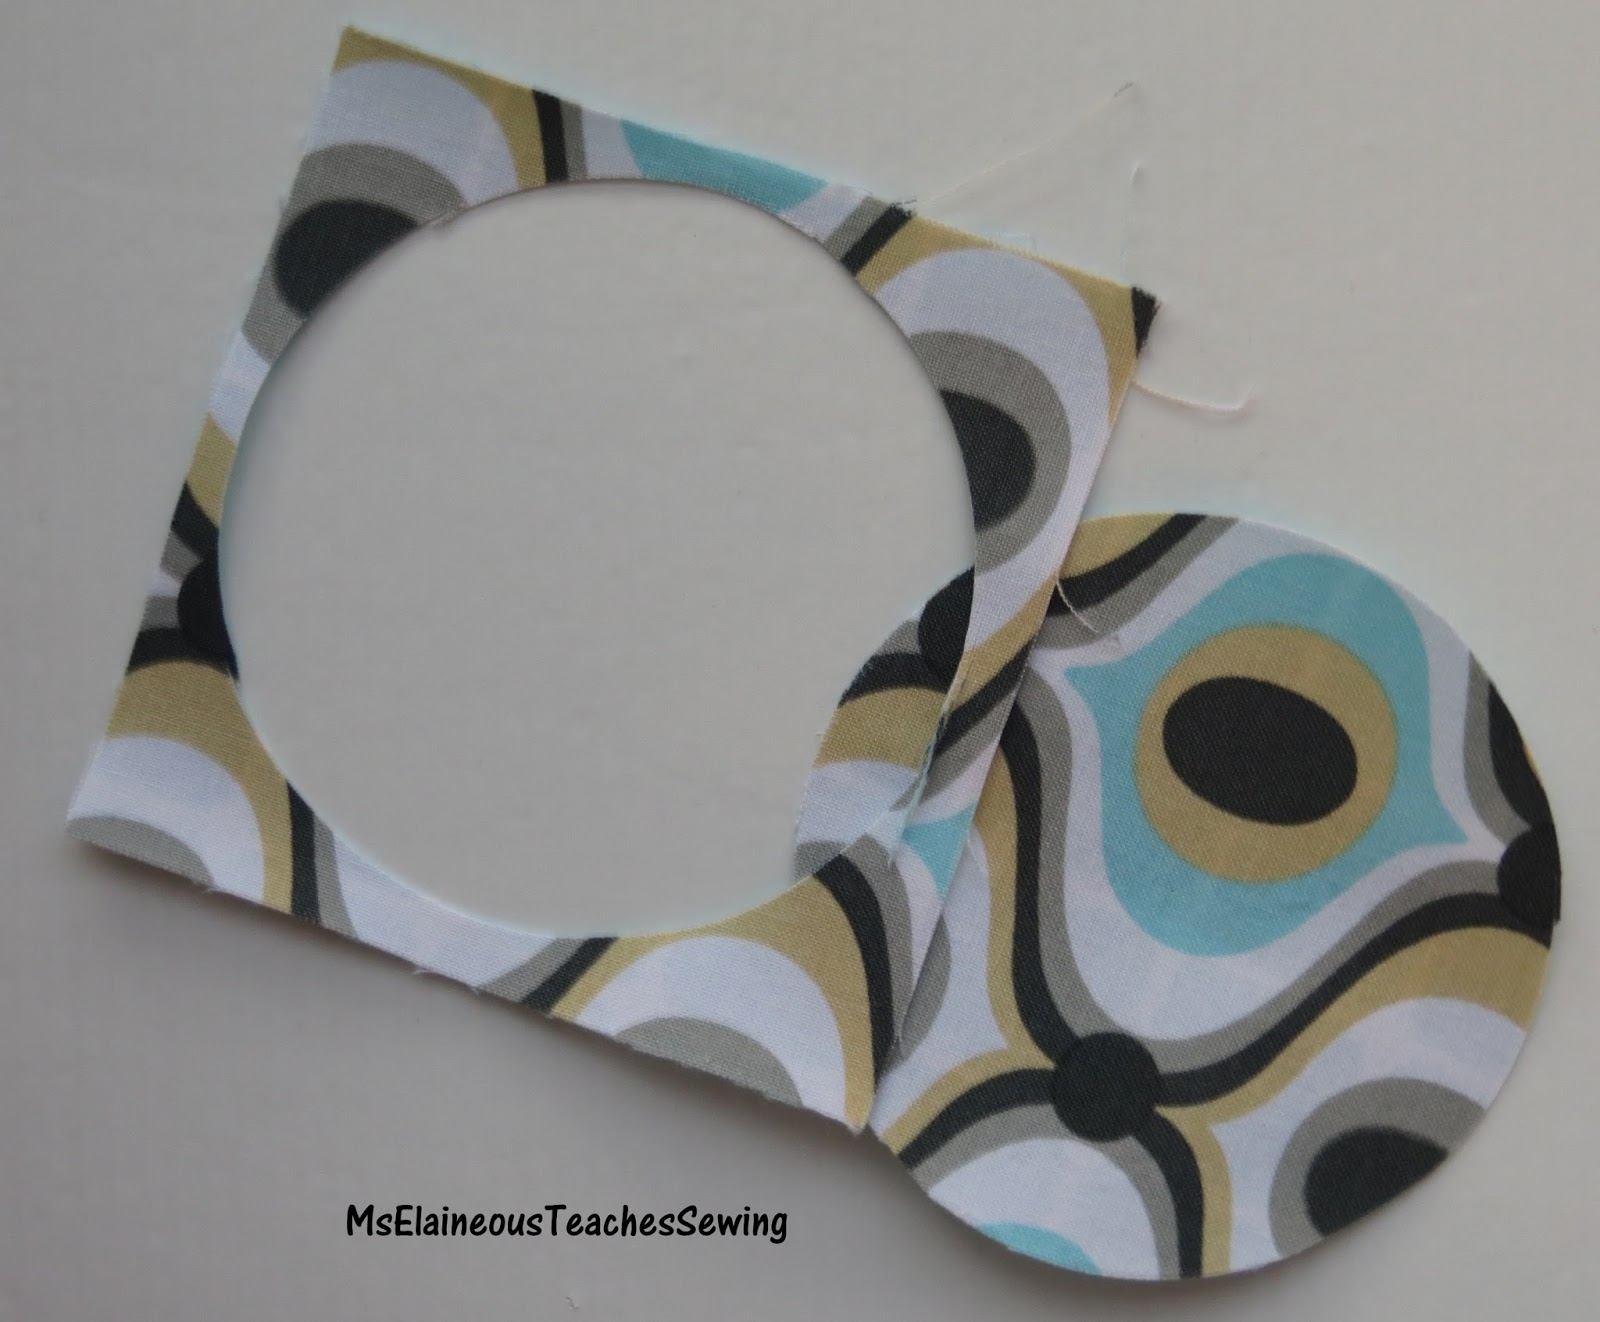
3. Cut out a 3 1/2" circle.
I use this Olfa circle rotary cutter. You could also use a compass to draw a circle, then cut out with scissors.
4. Using a zig-zag or overcast stitch, sew around the outside of the circle. I made my stitches close together and went around twice. This allowed the thread to fill in nicely.
And here's what it looks like!
5. On the inside of your taco, mark mid points as shown (1 3/4"). You only need one. I have no idea why I drew both!
6. On one line, mark 3/8" down from the edge.
7. Transfer those dots to the outside fabric. I just held the circle up to the window so I could see the dots and marked the other side.
 8. Using the dots as a guide, insert the prong ends from the outside.
The inside will look like this. Use the dots to make sure that your snaps are in the right spot!
9. Attach your snaps. I use this SnapSetter. I love it. Love. I could never get pliers to work.
Here it is!
Corral those earbuds and snap it together!
Thanks for reading! Here's a bonus pattern for a free zippered coin purse!
8. Using the dots as a guide, insert the prong ends from the outside.
The inside will look like this. Use the dots to make sure that your snaps are in the right spot!
9. Attach your snaps. I use this SnapSetter. I love it. Love. I could never get pliers to work.
Here it is!
Corral those earbuds and snap it together!
Thanks for reading! Here's a bonus pattern for a free zippered coin purse!
My friend Danielle asked me about making produce bags. So I went to work and came up with this design - made from a mesh laundry bag. It's based on a plastic produce bag.
I was able to make four produce bags from one laundry bag.
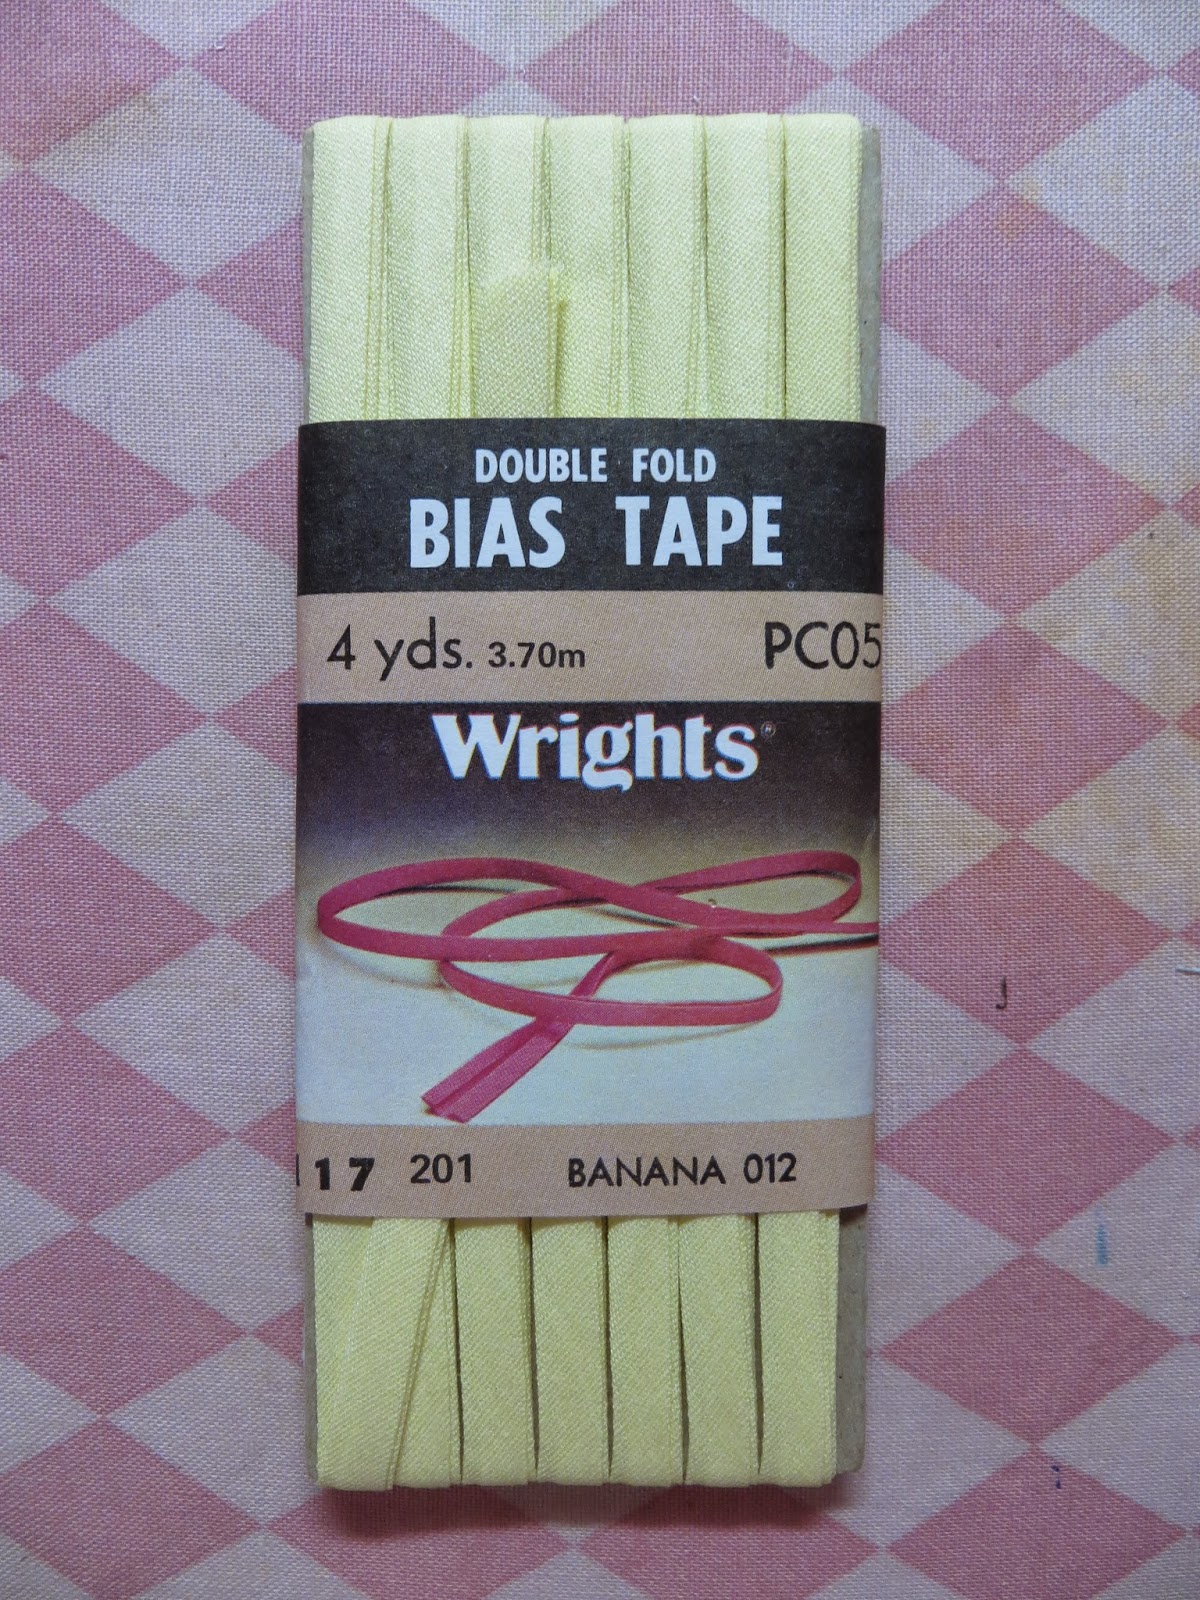
I made my own double fold bias/binding tape, but you can use a package like this one.
OK, I didn't quite make my own. I used my Simplicity Bias Tape Maker; it makes single fold bias tape...then I switched tips and ran it through the machine again to make it double fold!
The only problem I've had is that the cashier had to remove my produce to weight it (I shop at Wegmans). So now I weigh it myself, in the produce department, print the sticker, and stick it to the bag. I guess the sticker isn't so eco-friendly, but I'm fine with that. It's better than a trash can full of plastic produce bags!
You'll have to head over to my Craftsy Pattern Store to download the free pattern!


