Pages

 photo Home_zpspchzwjez.png  photo Patterns_zpsffe5v7nd.png  photo Tutorials_zpsplo1y0ea.png  photo 193faa8a-319f-4666-9915-a2cc9af19bda_zpsah1i88qv.png  photo 1aff47d5-9779-4086-ae8c-7c8a885b6c47_zpsyyyqf1xu.png
Showing posts with label Slipcovers. Show all posts

Tuesday, June 16, 2015

Big Chair Slipcover Part One

Oh, just about three years ago I wrote about slipcovering my BIG GREEN CHAIR. It never happened. I got around to slip covering the foot stool. Then I went on to slipcover my sofa.

Last week my friends and I headed to our favorite fabric store (Barn Fabric Center) - it's in Williamsport, PA. OK, this store is amazing. It's full of home dec and upholstery fabric...for $10 a yard. And if you time your visit, it's marked down! Last year we went right before the 4th of July weekend and it was $7 per yard! 

Experience taught me to shop with a purpose. I'm not one of those people who just buys fabric to buy fabric. I buy fabric when I need fabric. Although the store is small, it holds a lot of fabric, which can be overwhelming. I have no problem making decisions but I find that bolts and bolts of beautiful fabric paralyzes me! But I had a purpose...get that slipcover done!

In the spring, I decided to lighten up my living room. There was too much brown and gold; I found that it drained my energy. I ordered a new rug that served as inspiration. I found some paint (haven't painted yet...) and then decided that it was time for a chair re-do. Since I couldn't take my rug with me, I matched up the rug colors with paint sample colors.

OK, now back to the Barn Fabric Center. It didn't take long to find the fabric that I wanted - a blue/green linen (like?? I have no idea). It was plain and soft and beautiful. At $10 a yard, I couldn't pass it up. I needed about 10 yards. He measure it...there was 18 yards...he gave me a deal. I ended up paying $150 for 18 yards!

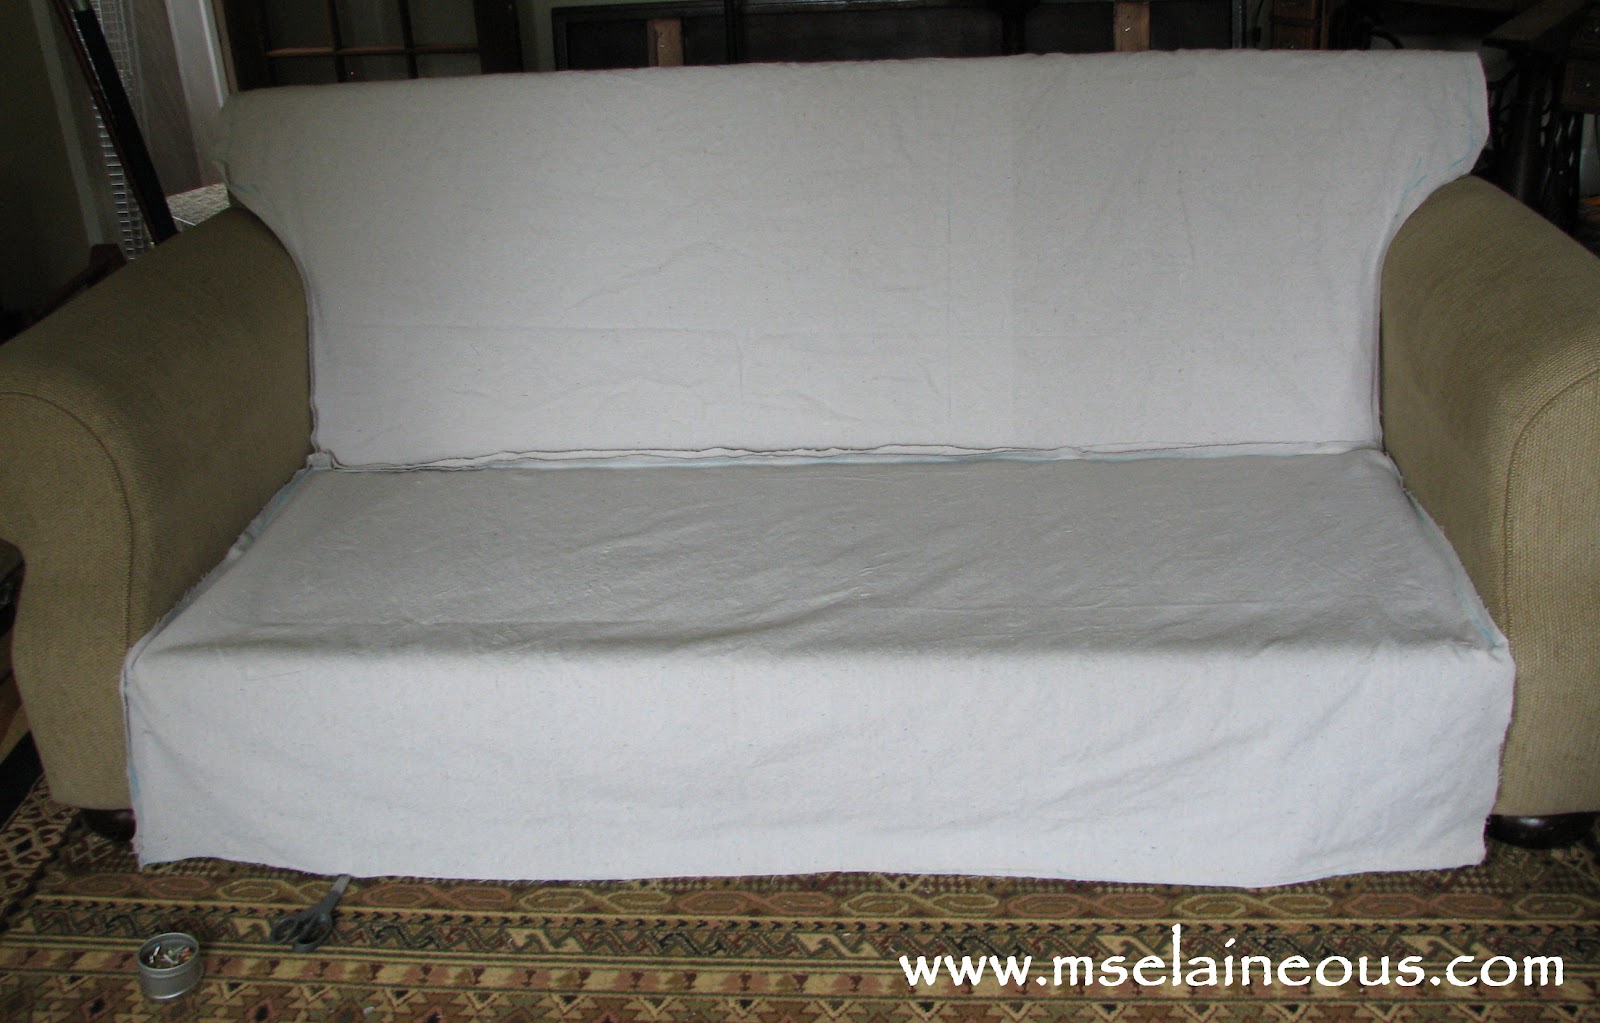
So here is my work in progress. I'll be writing more about what I did to get ready for it. 


Here's the before. It's a dark green chenille - that's already a slip cover. I love this chair. I love the title..."The Simple Slipcover." FYI...it was anything but simple!
Here's the work-in-progress. Yes, that fabric is SOFT!


Here's the back. This was the not-so-simple part. You can kind of see the velcro flap that I had to create so I could get it on and off the chair. 


My goal for today is to get this finished. We've had a lot of rain, so it's perfect weather to stay inside and sew!


Friday, June 6, 2014

Office Chair Slipcover


Earlier this week, my guy asked me if I could recover these office chairs. Hmmm....I wasn't so sure of my skills, but I agreed. I'd slipcovered my sofa and ottoman, but this was new territory.

He dropped off the chair without the frame and I got to work. Because there are two chairs, I decided to make a muslin pattern first.

I went to work pinning and fitting the muslin. I did the same thing I did when I made the slipcover for my sofa.


I sewed it together using a basting stitch (easier to take apart if there is a problem).


And ended up with this. I wasn't sure what to do around the bottom, so I made a skirt. But he's not a "skirt" kinda guy. So he asked about elastic....that would just draw the excess fabric in underneath. My thought was that I'd hem it and put a drawstring in - much better than elastic.


At this point, it looked OK. It was a bit wonky. He's an engineer. Wonky is not good.

The next morning, I had things figured out. I decided to use this muslin slipcover as a pattern.


I took it off the chair and, using a red ultra-fine-tip Sharpie, I traced my stitching.

Once I was done, I used a seam-ripper and took the muslin pattern apart.

I ended up with this. I had three pieces - a seat, the seat back, and the skirt.


Oops. OK, I got a little impatient and decided to tear...which tore! I patched it with some light-weight fusible interfacing.


This left me with the problem of adding my 1/2" seam allowance. I found my compass (every sewist should have one! ) and set it to 1/2" and went to work making a "good pattern."


I placed the pattern pieces on muslin and traced around them with my compass. I don't have any pictures of that.


I sewed it together and got this. Looks fab!


Except...I measured the skirt wrong!


I ripped out my seams to unveil my final pattern.


I ended up cutting the seat piece in half and placing it on the fold. This helped keep everything symmetrical and even.
This is the back piece.


For the skirt, I cut a piece of fabric/sewed together and ended up with a 4" x 70 1/2" skirt.


Before final assembly, I did an overcast stitch around all the fabric.


Here it is!


To make the skirt, I added two buttonholes and threaded some cord through the 1/2" seam. I used my Dritz Drawstring Threader to work the cord through.


It took me about 75 minutes to make the other one.


I don't have a final picture of the chairs in his office. I'm working on that! 

There are several lessons I learned while making these: (1) It's amazing how much confidence I gain when I know someone believes in me. My guy seems to think I'm a sewing genius. I think he had more faith in me than I did! (2) When in doubt, slow down and make a pattern. This is not easy for me - I'm a little impatient. But this slipcover fits like a glove, so the time it took to make a pattern was worth it. (3) When I'm a little baffled, go for a walk or sleep on it. I'm amazed by what my rested brain can accomplish. (4) The right tools make life easier. By that I mean, hurray for the compass and drawstring threader!

Every new challenge creates new skills. What are you going to challenge yourself with!?

Friday, January 11, 2013

Ruffled Slipcovered Sofa Table

table1
About ten years ago my friend moved to Australia and gave me a vacuum cleaner and this table. I’ve used the table off and on since then (and the vacuum all the time!). I loved the size, shape, and the style of the table legs. The only problem was that the top veneer was peeling off and I had no idea what to do with it.

Yesterday I decided to make a slip cover for it. And this is what I ended up with. I’m really happy with how well it turned out.
Here are some basic instructions for making something similar. I used a heavy duty drop cloth (that I used to slip cover my sofa) and some home dec fabric for the ruffle.

1. Table Top: measure your table and add an inch. My table is 24” x 48”, so I cut 25” x 49”.

2. Side Panel: my panel is 5” but you can make it any depth. So cut two pieces the length (5” x 49”) and width (5” x 25”) of your table top piece.

3. Ruffle: my ruffle is about 4” but you can make it any depth. I cut four pieces 8 1/2'” x WOF – so I ended up with four pieces of fabric that were  8 1/2” x 54”.

Prepare side panel and ruffle:
Using a 1/2” seam, sew your ruffle pieces together, along the 8 1/2” ends so you have one long piece. Then sew the two ends together to create a loop. Make sure that you don’t twist this.

Press seams open. With WST, press in half so it’s 4 1/4” deep. You should be looking at the RIGHT side of the fabric. We aren’t turning this right side out! Set aside.

Using a zig-zag or overcast stitch, zig-zag the 5” ends of your side panel. This will reduce fraying. Then, using a 1/2” seam, sew your side panel pieces together – if your table is a rectangle, make sure they are in correct order! You should have a loop. Set aside.

Mark your side panel and ruffle: Now you’ll need to make some registration marks. The purpose of these marks is to help you get the ruffle evenly distributed along the side panel. 

Side Panel: Much of this depends on the size of your table, so just fold in half (so it’s long and narrow) and mark on the folds (on the right side); fold in half and mark on the folds, then maybe one more fold and mark. I typically recommend going no more than 24” between marks. If it’s more than 24”, it’s difficult to ruffle. Because my table is even, I went every 24”, using the seams as a registration point.

Ruffle: Do the same with the ruffle – just fold in half and mark, then again…until you have the same number of marks that you have on your side panel. Next, beginning at a registration mark, make your ruffle following these directions. Don’t ruffle yet! You are just adding the embroidery floss.

Sew your ruffle to your side panel:
Put on your walking foot and lengthen your stitches to about 3mm.
Put panel and ruffle RST. Find a registration point on the side panel and your starting point on the ruffle (where you started with the embroidery floss), line them up, and tie off your embroidery floss. Pin at that registration point. 

Using a 1/2” seam, take a few stitches. Find your next registration marks and pin the ruffle to the panel at that point. Take the embroidery floss at that mark and work it out of the zig zag. Slowly pull and ruffle (you’ll have a loop of embroider floss). Evenly distribute the ruffle as you sew. Stop at the registration mark and tie off your embroidery floss (this will tie off the loop). Find your next registration marks, line up, pin, and repeat. Do this all the way around. Then remove the embroidery floss. I just cut it at the knots.

Zig zag (or overcast) the raw top edge of the ruffle/side panel. This will be just above your row of stitches. This stops fraying.

Sew side panel to table top:
On the WRONG SIDE, mark the middle of each side of the side panel. On the RIGHT SIDE, mark the middle of each side of the table top.

table
With RST, start at one of the marks and using a 1/2” seam, sew side panel to table top. I recommend putting the side panel/ruffle on the top and the table top on the bottom. When you reach a corner, stop 1/2” from the end, put the needle down, and pivot. When you pivot, you should be right on the panel seam. Continue sewing until you are done. 

Zig zag over the raw edge to stop fraying! 

To keep the slipcover from sliding, put a rug pad on the table first. It grips the table and the slipcover and gives it a little bit of cushioning!

I finished it off by top stitching just above the ruffle (on the right side). Just flatten the ruffle and using a walking foot, sew around the perimeter of the slipcover. This will keep your ruffle flat so it hangs straight.

table2
 
Celebrate!

IMG_6522

Friday, August 3, 2012

Slipcover Update: The Hem And DONE!

Finally! Hemming the bottom of the slipcover. The end is in sight. This was the easiest step of the entire project. I kept it plain - no ruffle or pleated front - to maintain the original design of the sofa. I was also a little concerned that a ruffle or pleat would stick out funny. Plus, let's be honest, this is a lot easier!

I decided that I wanted to the feet to show. I really had no choice because I cut the slipcover even with the floor! Oops. But my sofa has cute feet, so it worked. Serendipity!

I put the slipcover and cushions on the sofa - right side out. I took my ruler and marked 2" up from the floor - my entire sofa was on the rug, so it was even.

And I marked all the way around.

I headed to my cutting table and, using a ruler, marked a line 1" up from my marks. I am creating a 1" hem.

That might not seem like much, but bulky seams hang funny. 


I cut on my 1" mark...all the way around. Then I cut ALL the excess fabric off all the seams, leaving about 1/2" to 1". Tedious. But not as tedious as what I was about to do.


I pinned and did a double-check-fitting. Looks good!

I headed to my machine to do what I dreaded...an overcast stitch...on all the raw edges...all. of. the. raw. edges. I went through three bobbins! This will not unravel!

Once I was done, I decided that I would do a zig-zag for my final 1" hem along the bottom. I don't know why I chose this rather over a straight stitch. I do like how it looks. Plus, it won't come unraveled.

VIOLA! All done!

And my cats LOVE IT!

Want to try this? Start at the beginning with Slipcover Courage!

Thursday, August 2, 2012

Slipcover Update: The Arm Front

Oh....almost done! Today's post is all about the front of the arms. As you can see...lots of clipping to get it around that curve!


Put the slipcover on the sofa wrong side out. To help me get a good fit, I repinned the arm (side) into that crease right below the curve of the sofa arm - you'll see what I mean in the picture to the left. Yes, this is a picture from yesterday's post! But it's all I have!


I draped the fabric onto the front of the arm. I stuck pins in so it would stay flat and hug the curve of the arm front. And I just stuck them in straight...all the way aroud.


I next raced the outline of the arm front. 


Cut it 1" bigger. You know the drill...


See the pins?


I pinned the arm front to the arm all the way around. I wanted this to be fairly snug, so I pulled a bit. It was a bit difficult to remove - it was on there really tight. But I am glad that it was.


I headed to the machine and followed my pins around. I didn't use my blue marker line - that just helped me cut and gauge the shape that I was sewing.

I sewed all the way around - and I clipped to help keep the shape of the curve.


And here it is!


Check out all the clipping!


It fits!


One side down and one to go!

We'll finish things up tomorrow with hemming the bottom.

Wednesday, August 1, 2012

Slipcover Update: The Arms


Time for the arms. These had me a little worried - mainly because they are curved. But with some basic clipping and pinning I got it all figured out! The arms took another 1/2 of a drop cloth. That brings our count up to 2 1/2 drop cloths. 

As with the frame, this is all about draping, marking, pinning, and cutting. 

I started by draping the fabric over the arm. The slipcover/frame is wrong side out.  I gave myself plenty of extra fabric - I double-checked it. You know...measure twice...cut once!


Don't worry about the front of the arm. We tackle that last.


If your arms are like mine, take some pins and stick them in the sofa right under the arm. This will help you gauge how long to cut it (where it meets the floor).

Once again, I marked the outline of the arm and cut 1" bigger.


And then I started pinning.


I had to put a little dart/fold under the arm to smooth out the curve.


And you can see my issue...the frame of my sofa...that little triangle. I took care of that! Thanks for the insight Peaches!


I tucked in some fabric and traced around the frame.


Trimmed...and pinned.


And pinned to the arm piece.


I headed to my sewing machine. In the fifteen or so steps there, I calculated my plan of attack.


And here it is right side out! I did a lot of little bits of clipping around the triangle-shaped insert to get is smooth.


Next...the front of the arms!

Tuesday, July 31, 2012

Slipcover Update: The Frame


Here's my slipcover update...the sofa frame! I was surprised by how easy this was. This took one drop cloth.

Peaches helped me remove all the cushions. I have a little house, so finding the space wasn't too easy. I had to dismantle a table and put the cushions in the dining room.


And then I vacuumed the frame and the floor. It was clear that I love Lay's Potato Chips and popcorn (and not vacuuming!).

I pressed the edges of the drop cloth (which had curled a bit). 

I draped it over the back so it just touched the floor. It went over the frame to the front.


I used a blue fabric marker and traced the outline of the back of the sofa and into the crease in the front (where the seat and the back meet). To do this, I just pressed the fabric flush against the sofa and found the edge with my fingers...and traced.

I cut it about 1" bigger than my mark.

It fit!


I took the other half of the drop cloth (I ripped the huge drop cloth into two pieces and washed/dried them separately). 

I flattened it out of the floor. And traced. When I came to the edge that touches the floor, I just held it taut, and ran my maker in the crease - using the floor as my guide.

I cut it about 1" bigger (except for the edge in the front that touches the floor - I cut right on the mark).


And ended up with this. See how the front just touches the floor...


I pinned the back and the seat right on the marks. Then I sewed right on the marks.

Love my Bernina 240. No hesitation whatsoever!


All sewn!


And it is still inside out.

Progess...but still more to go. Next step are the arms! Stay tuned!


Related Posts Plugin for WordPress, Blogger...