


Here's my slipcover update...the sofa frame! I was surprised by how easy this was. This took one drop cloth.

Peaches helped me remove all the cushions. I have a little house, so finding the space wasn't too easy. I had to dismantle a table and put the cushions in the dining room.
And then I vacuumed the frame and the floor. It was clear that I love Lay's Potato Chips and popcorn (and not vacuuming!).

I pressed the edges of the drop cloth (which had curled a bit).
I draped it over the back so it just touched the floor. It went over the frame to the front.
 I used a blue fabric marker and traced the outline of the back of the sofa and into the crease in the front (where the seat and the back meet). To do this, I just pressed the fabric flush against the sofa and found the edge with my fingers...and traced.
I cut it about 1" bigger than my mark.
It fit!

I took the other half of the drop cloth (I ripped the huge drop cloth into two pieces and washed/dried them separately).
I flattened it out of the floor. And traced. When I came to the edge that touches the floor, I just held it taut, and ran my maker in the crease - using the floor as my guide.
I cut it about 1" bigger (except for the edge in the front that touches the floor - I cut right on the mark).
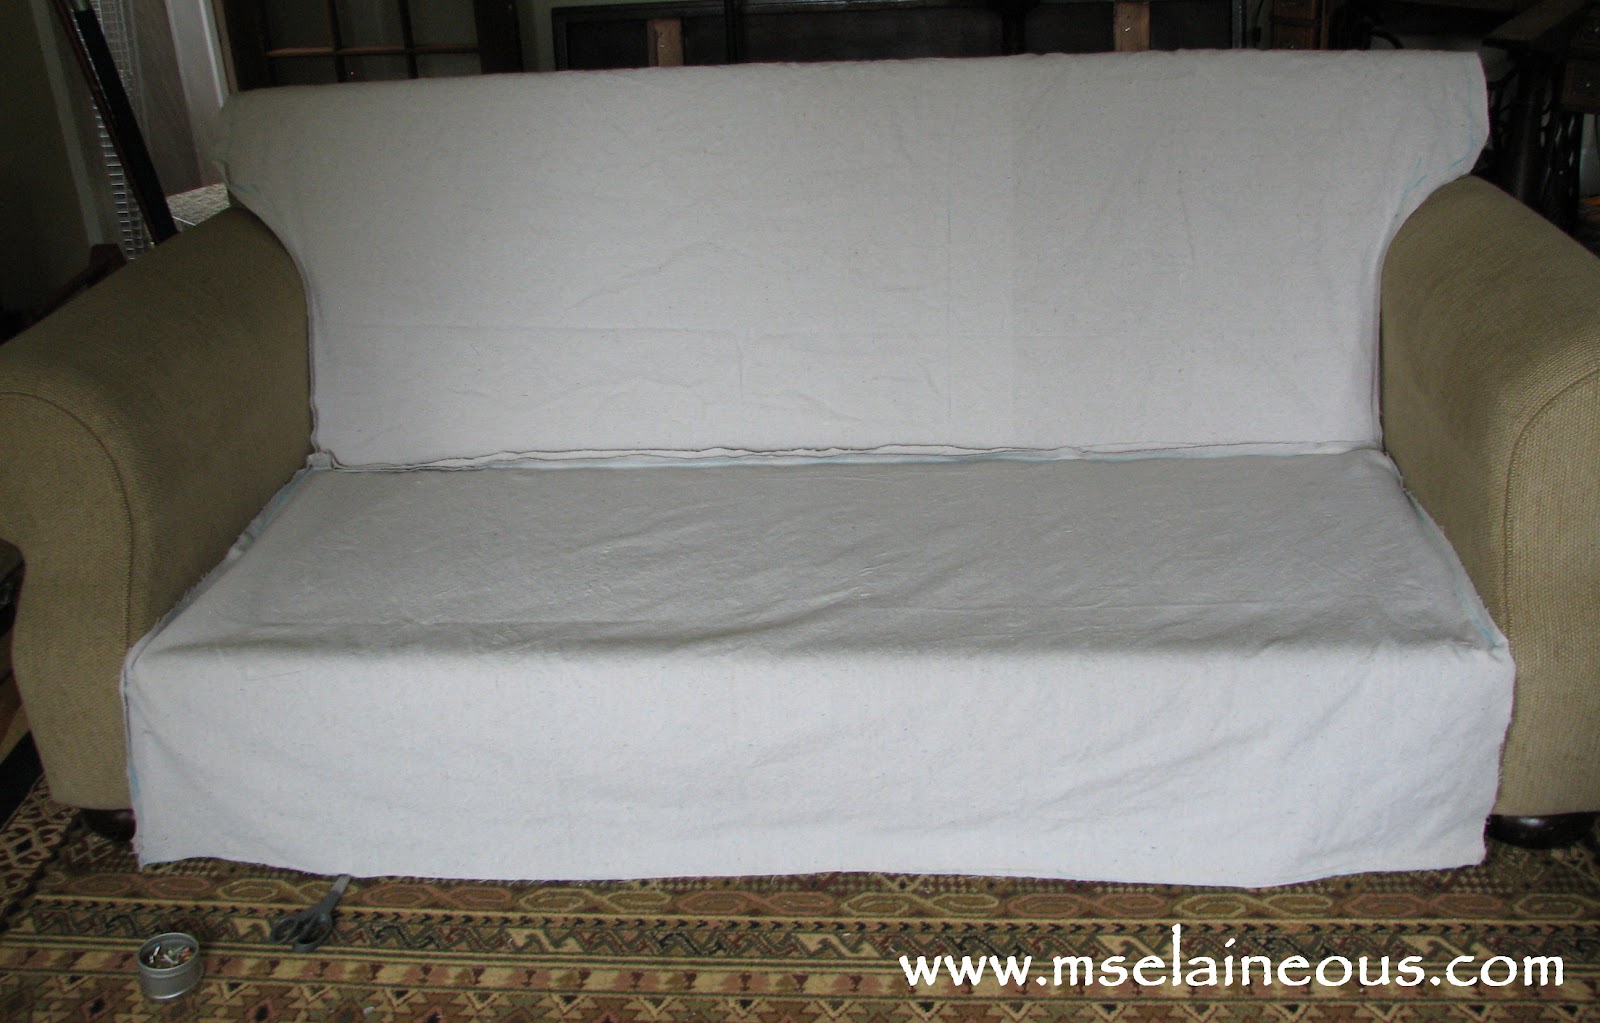
And ended up with this. See how the front just touches the floor...

I pinned the back and the seat right on the marks. Then I sewed right on the marks.
Love my Bernina 240. No hesitation whatsoever!
All sewn!

And it is still inside out.
Progess...but still more to go. Next step are the arms! Stay tuned!

No comments:
Post a Comment